Replace a Western Digital MyBook Studio Hard Disk Drive
Post published on December 31, 2013.I had some problems trying to disassemble and replace a Western Digital My Book Studio external hard disk drive.
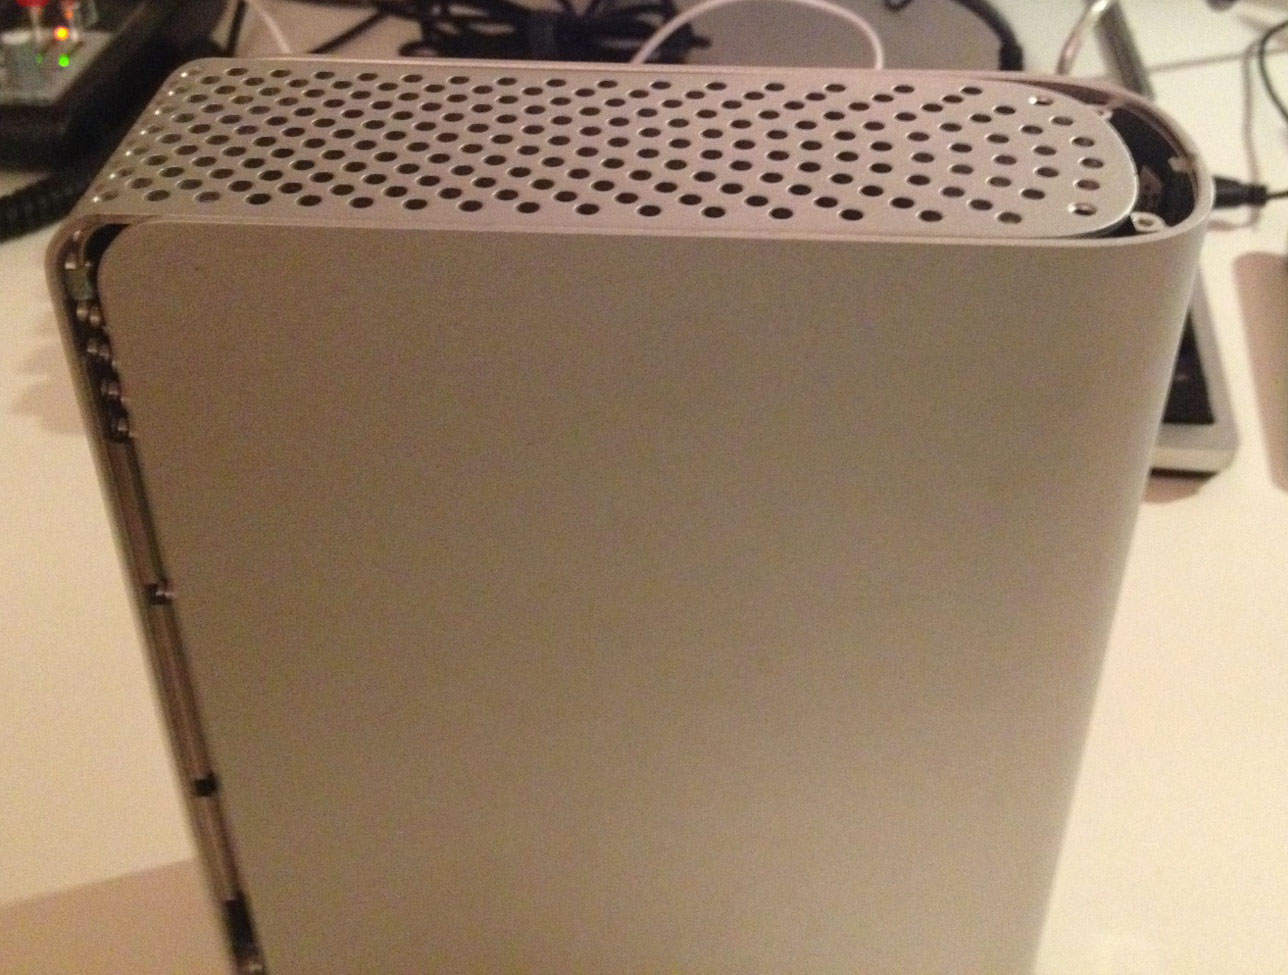
There are four screws on the outside, one of them under a warranty label. I guess with a Heatgun or something similar you could remove the label without destroying it.
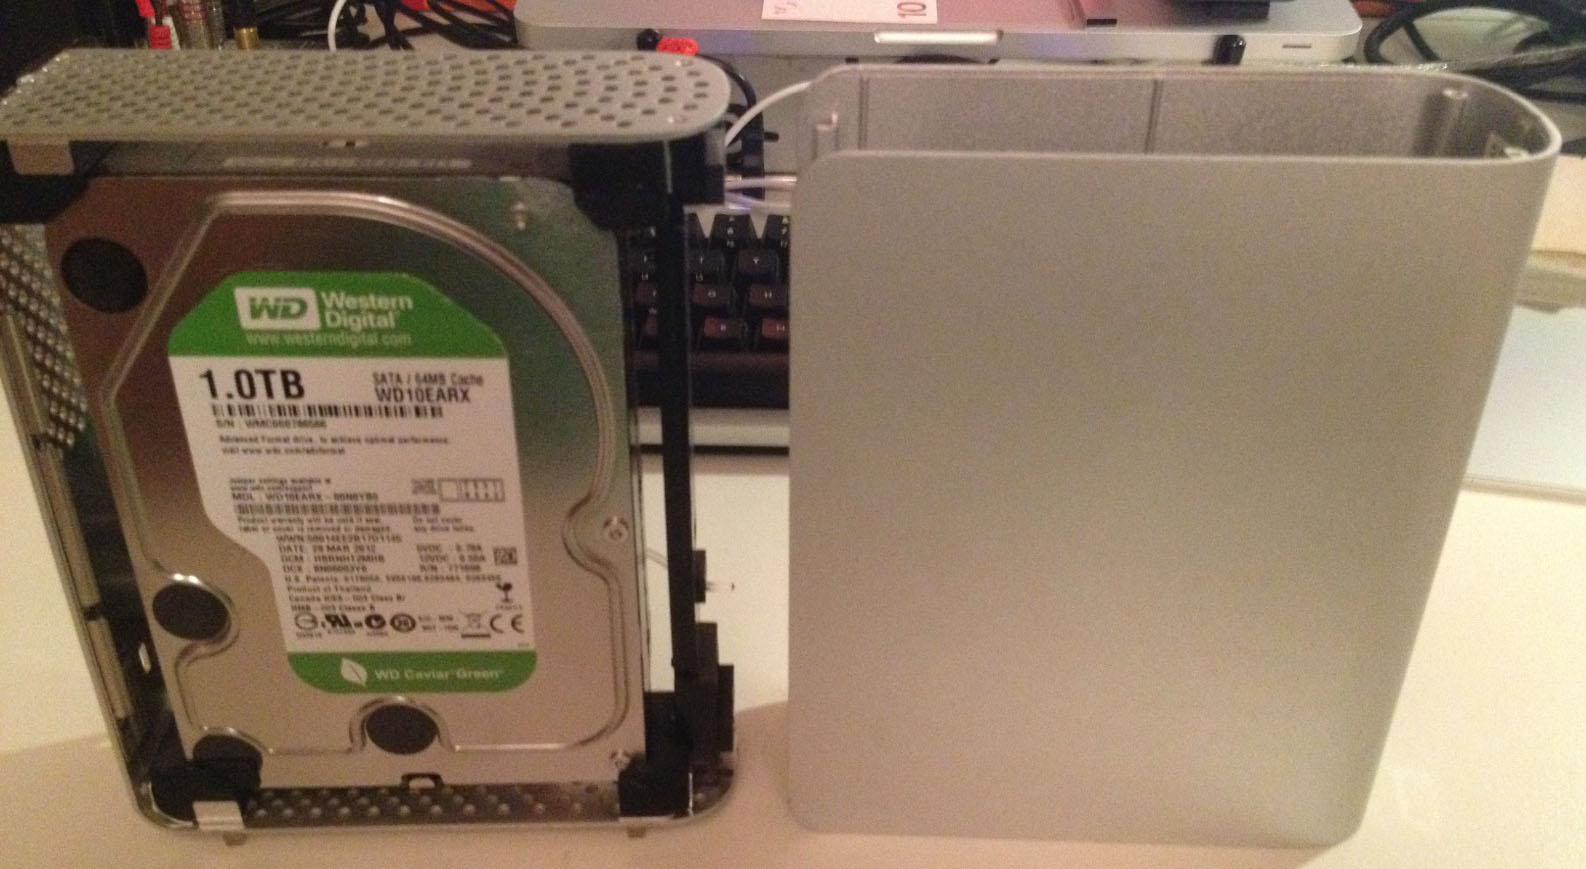
But the case is still closed rock-solid after removing the screws. That's thanks to some metal-clips around the edge. Use a flathead screwdriver to carefully wiggle the inner case approx. 1cm out of the outer shell.
Even if it doesn't feel this way, there are no more clips after sliding as seen in the second picture. Just use a long screwdriver as a lever to completely slide the inner case out of it's shell.
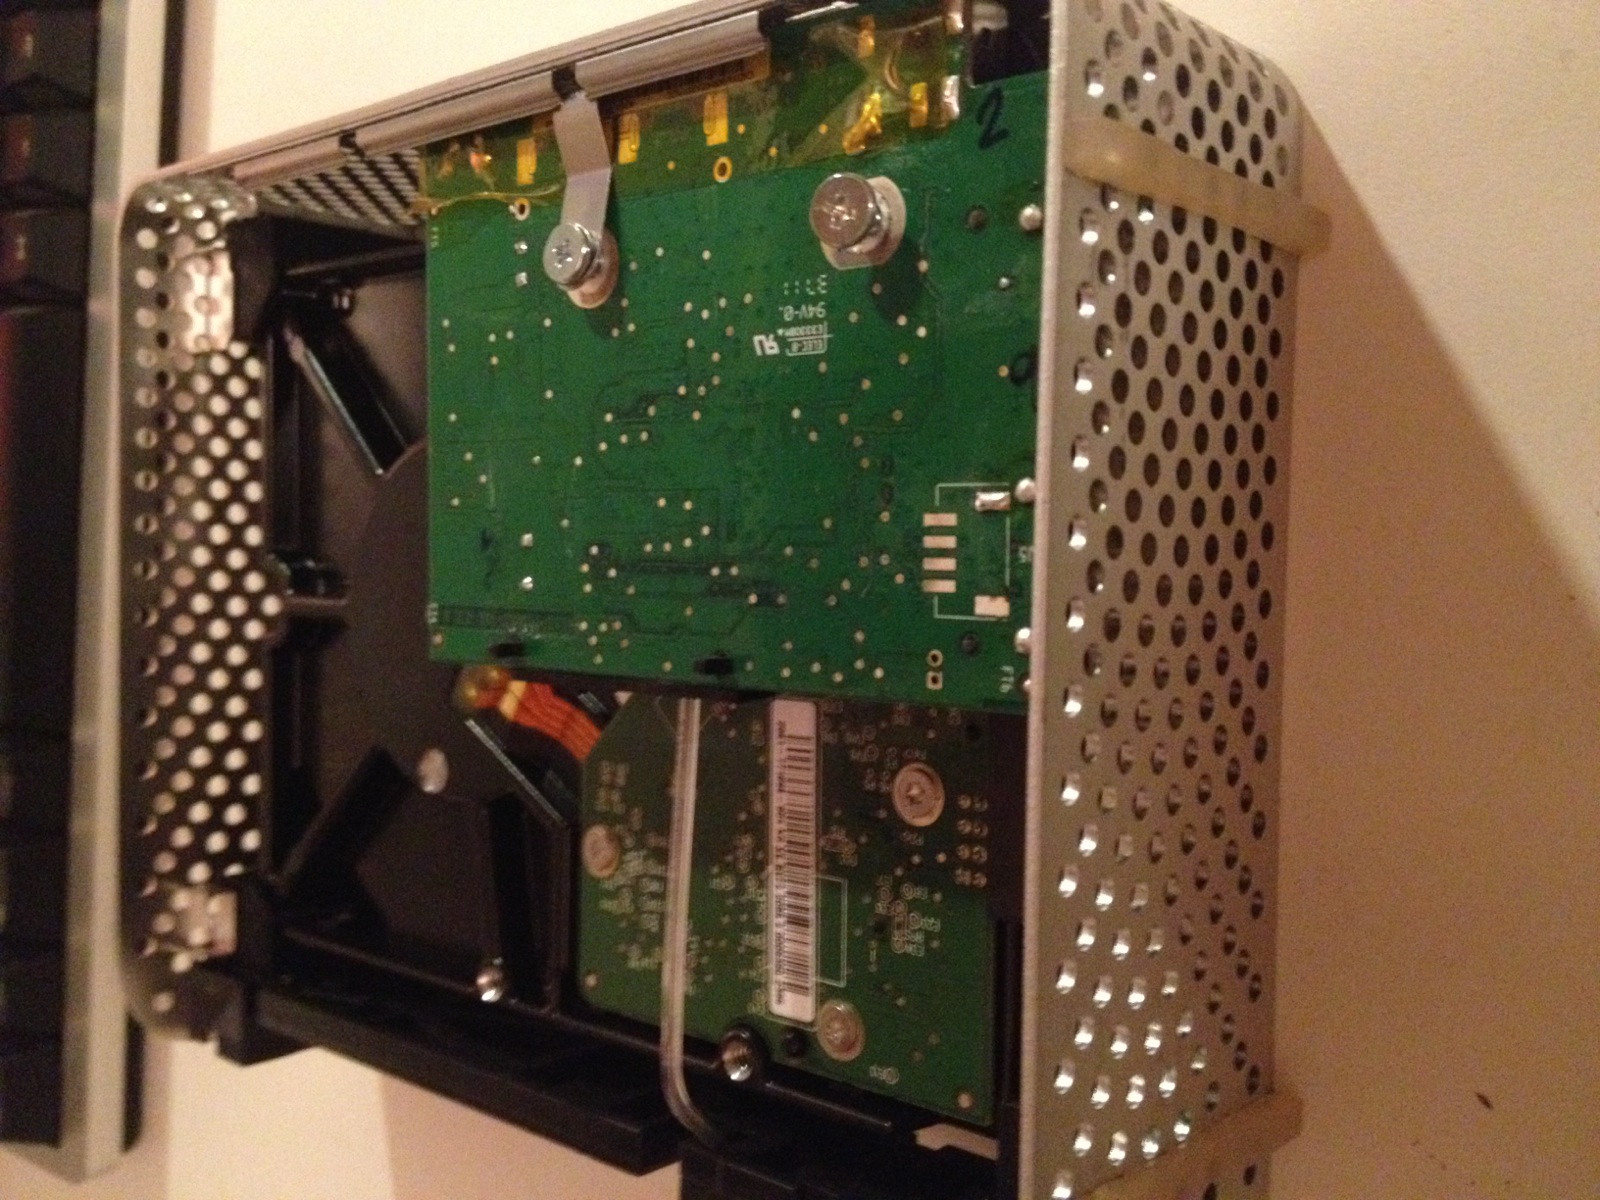
The hard drive itself is not mechanically connected to the inner case. Just slide it out, playing with the black rubber things in the corners to get it loose.
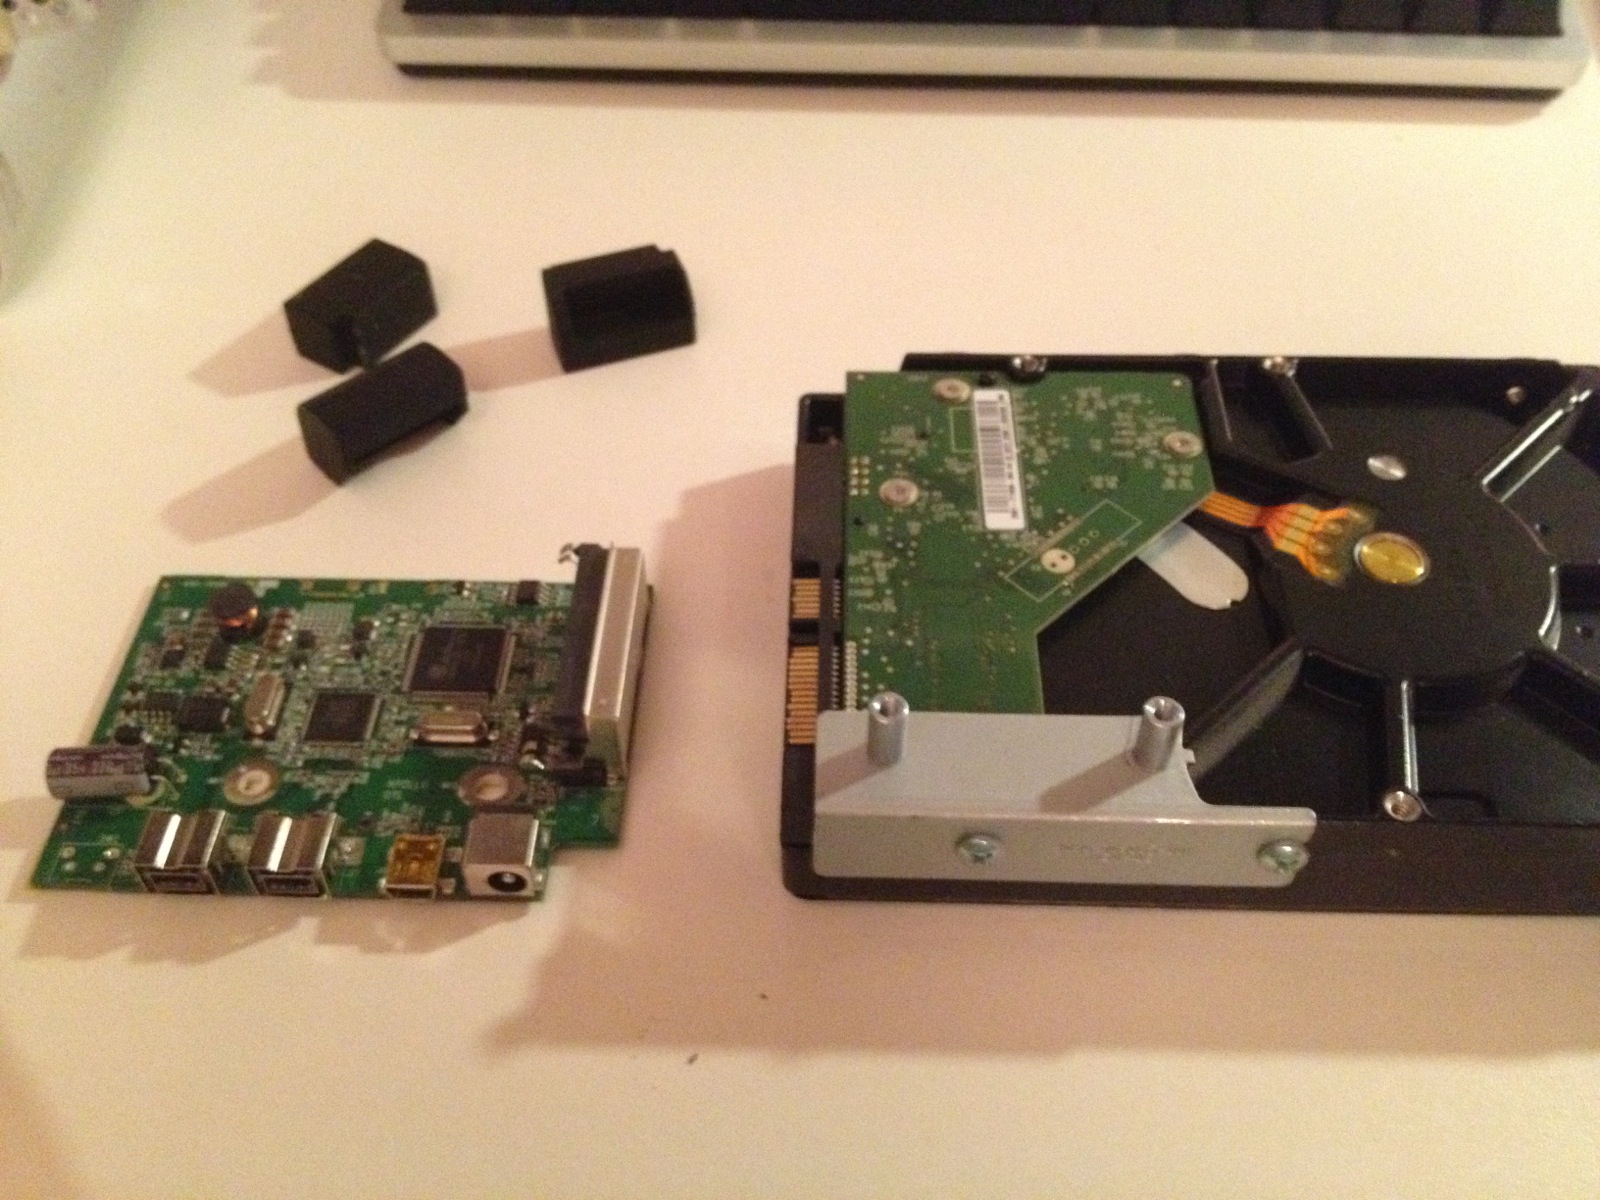
Now remove the two screws connecting the SATA adaptor to the hard drive, and it's metal holder screwed to the hard drive and place them on your new disk. Then follow the same steps in reverse to put it back together.
But beware!
The My Book Studio uses hardware encryption with it's SATA adaptor. This means, you won't be able to read the data already on the drive using SATA.
Also, the data on the replacement drive won't be readable in the enclosure. So get off your data before switching the drives, and put your new data on it afterwards!