Ikea Lack Table DIY
Another iteration of the DIY Ikea Lack 3D printer shelves
Project published on September 08, 2019.Last updated on November 27, 2022.
...back to 3D Printing overview
As is common in the 3D printing community, I have built myself a tower of Ikea Lack tables to store my printers in. It has three levels. I also included some lights to properly see whats going on, as well as a slide-out table for my small printer.
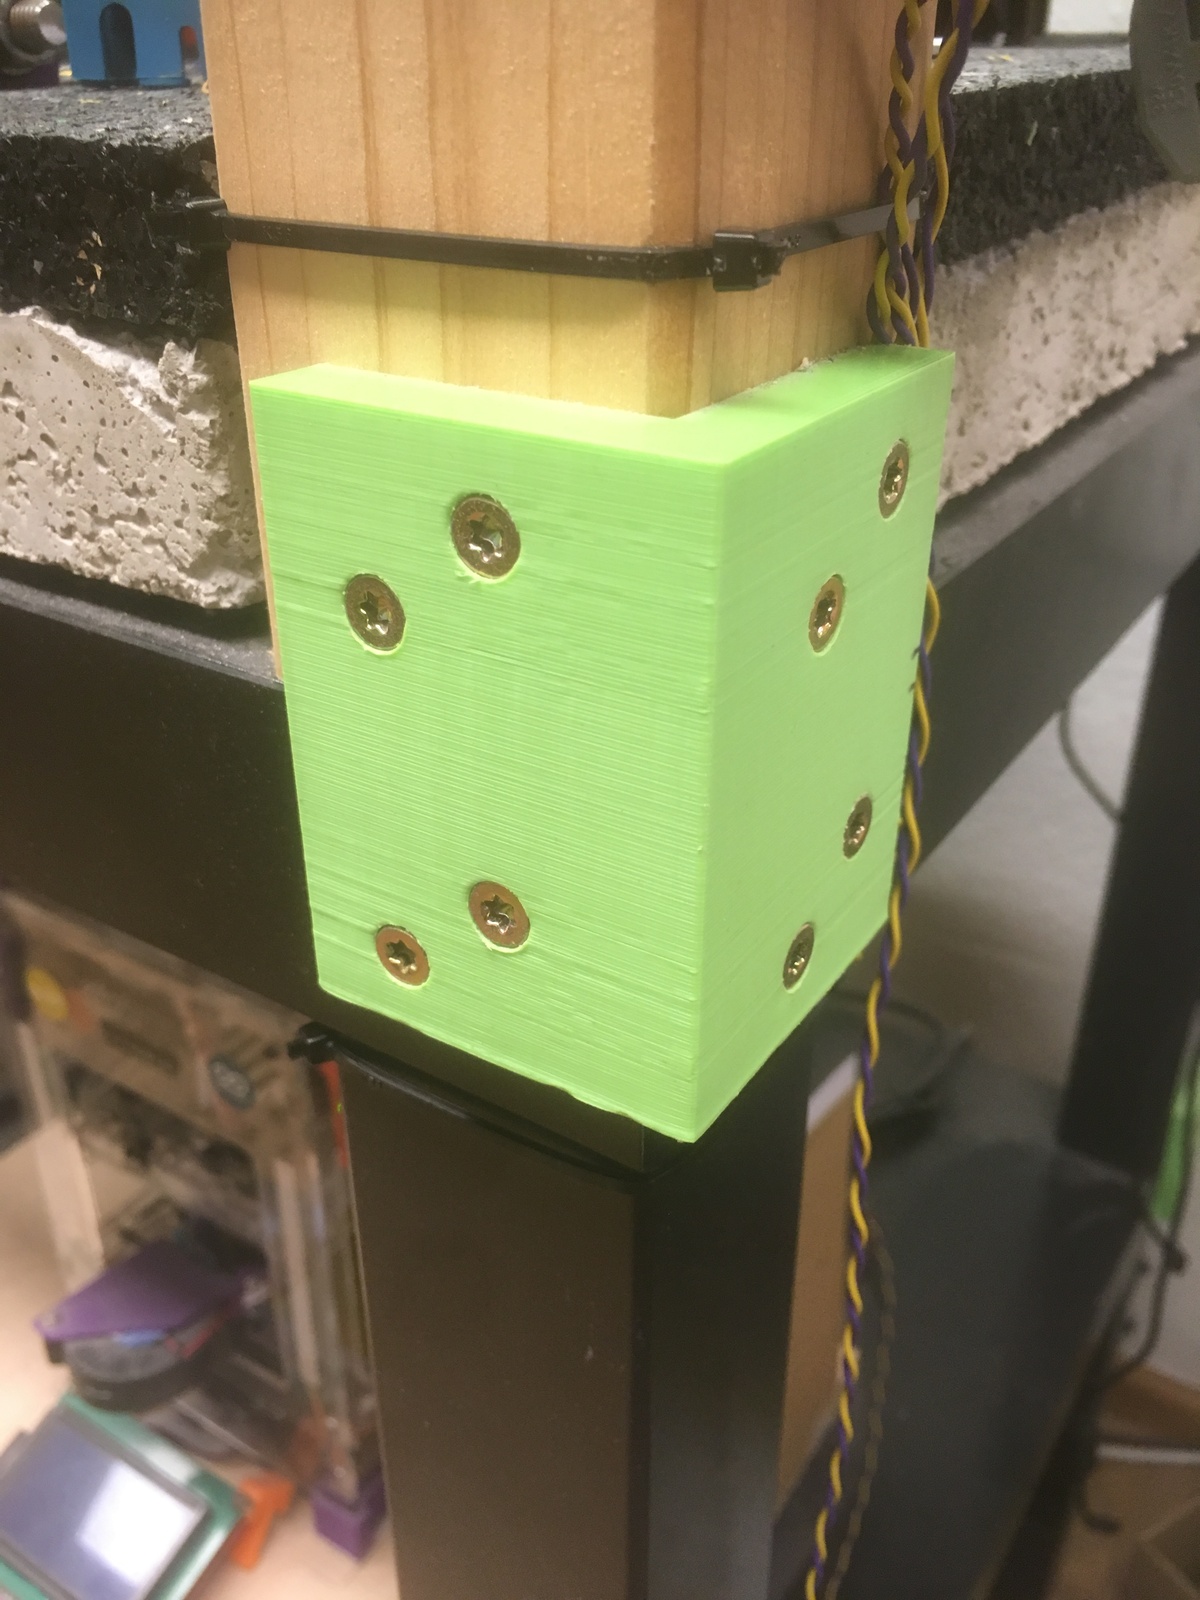
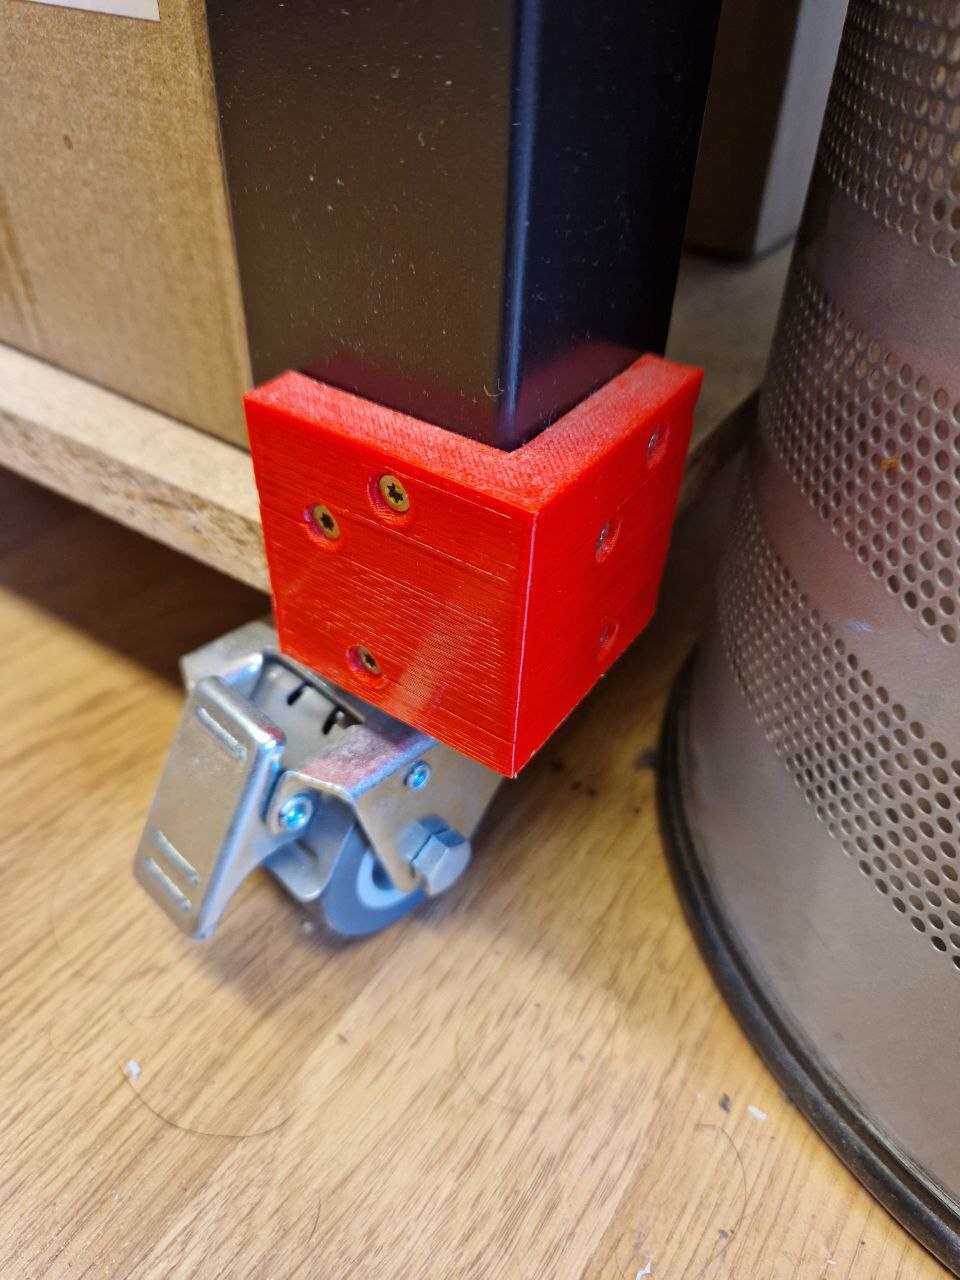
Mounting Hardware
There are many solutions available, now more than back when I built this. Nonetheless I decided to design my own simple brackets to mount the feet of one table to the one below it.
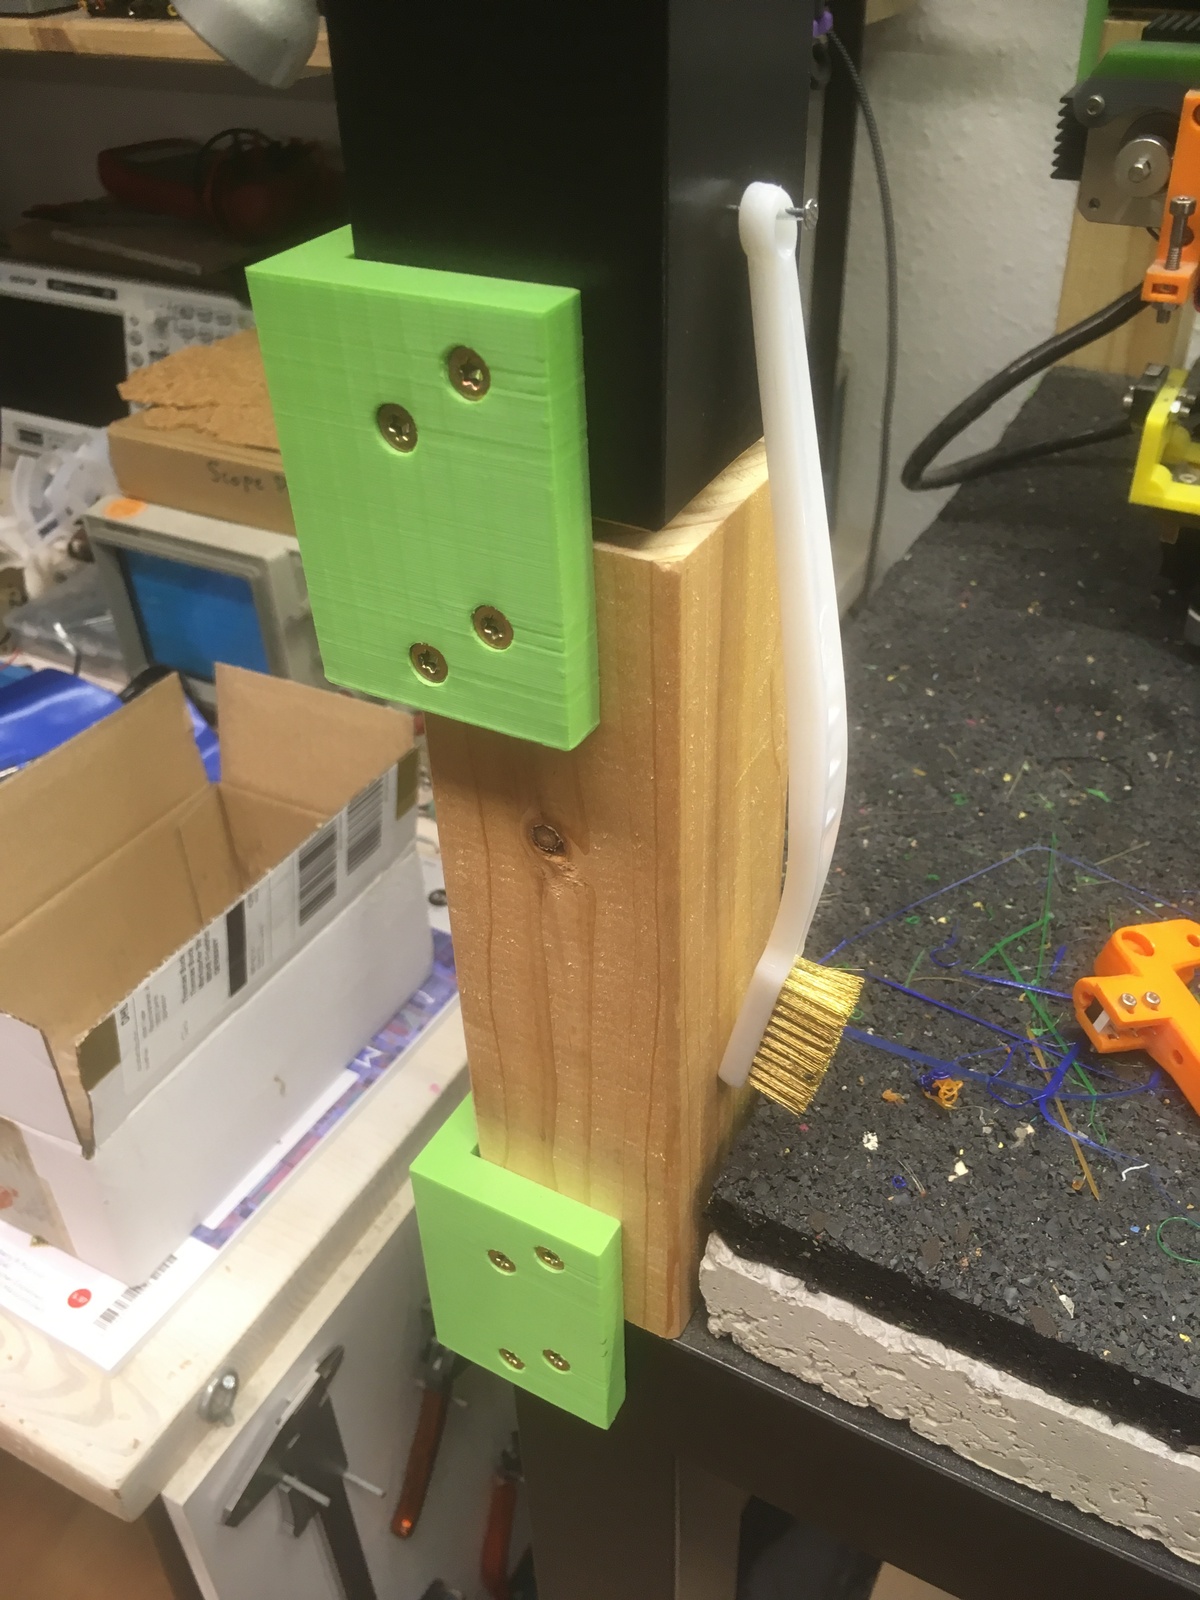
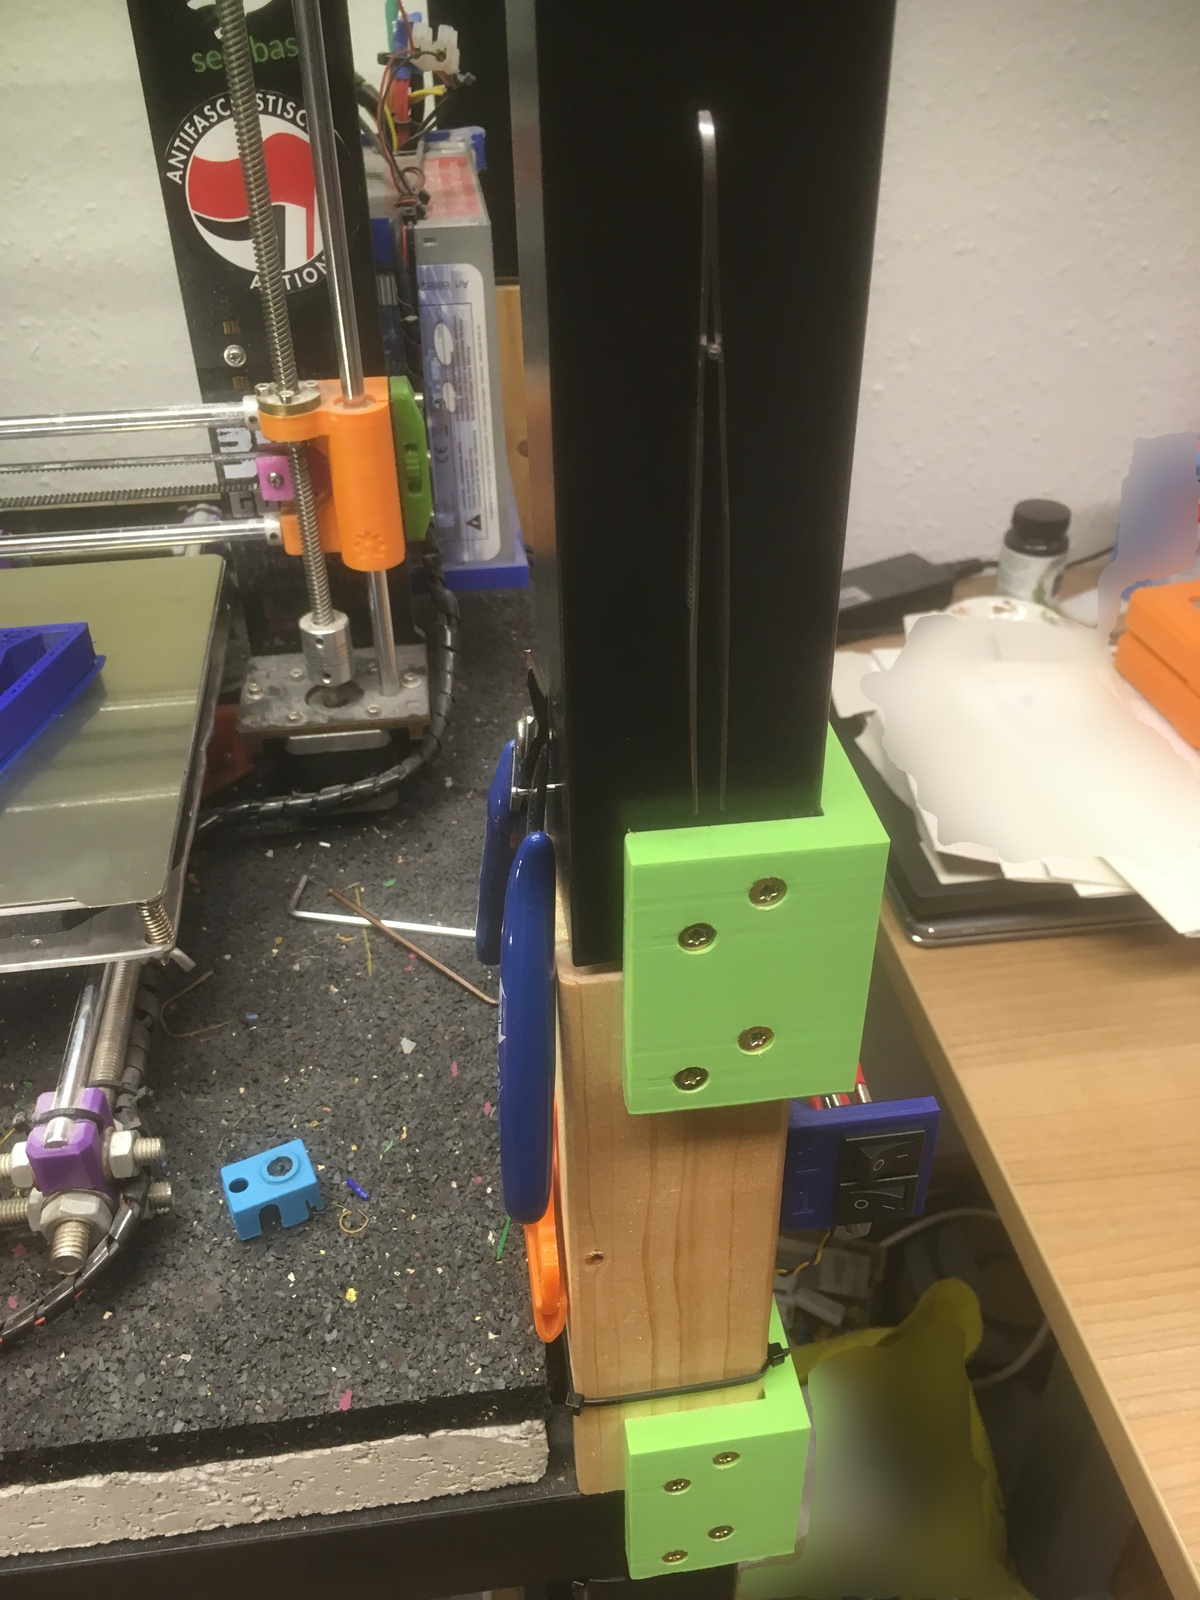
For the middle level of the tower, I added some pieces of wood to make more space, so it can fit my large printer comfortably.
I also mounted various tools that I often need while working with the printer to the side of the top Lack feet, just using some nails. This includes snips, a razor blade scraper, tweezers and a brass brush for the nozzle.
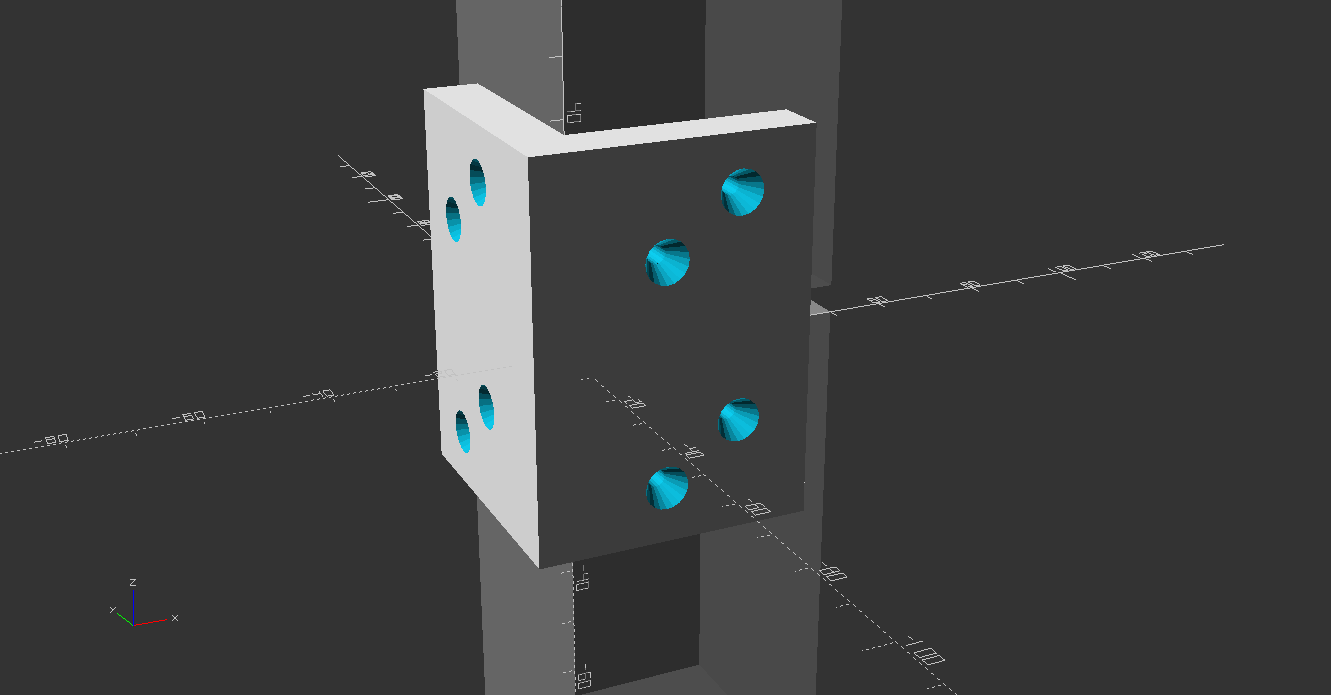
My design files for the mounting bracket can be found in my Git repo.
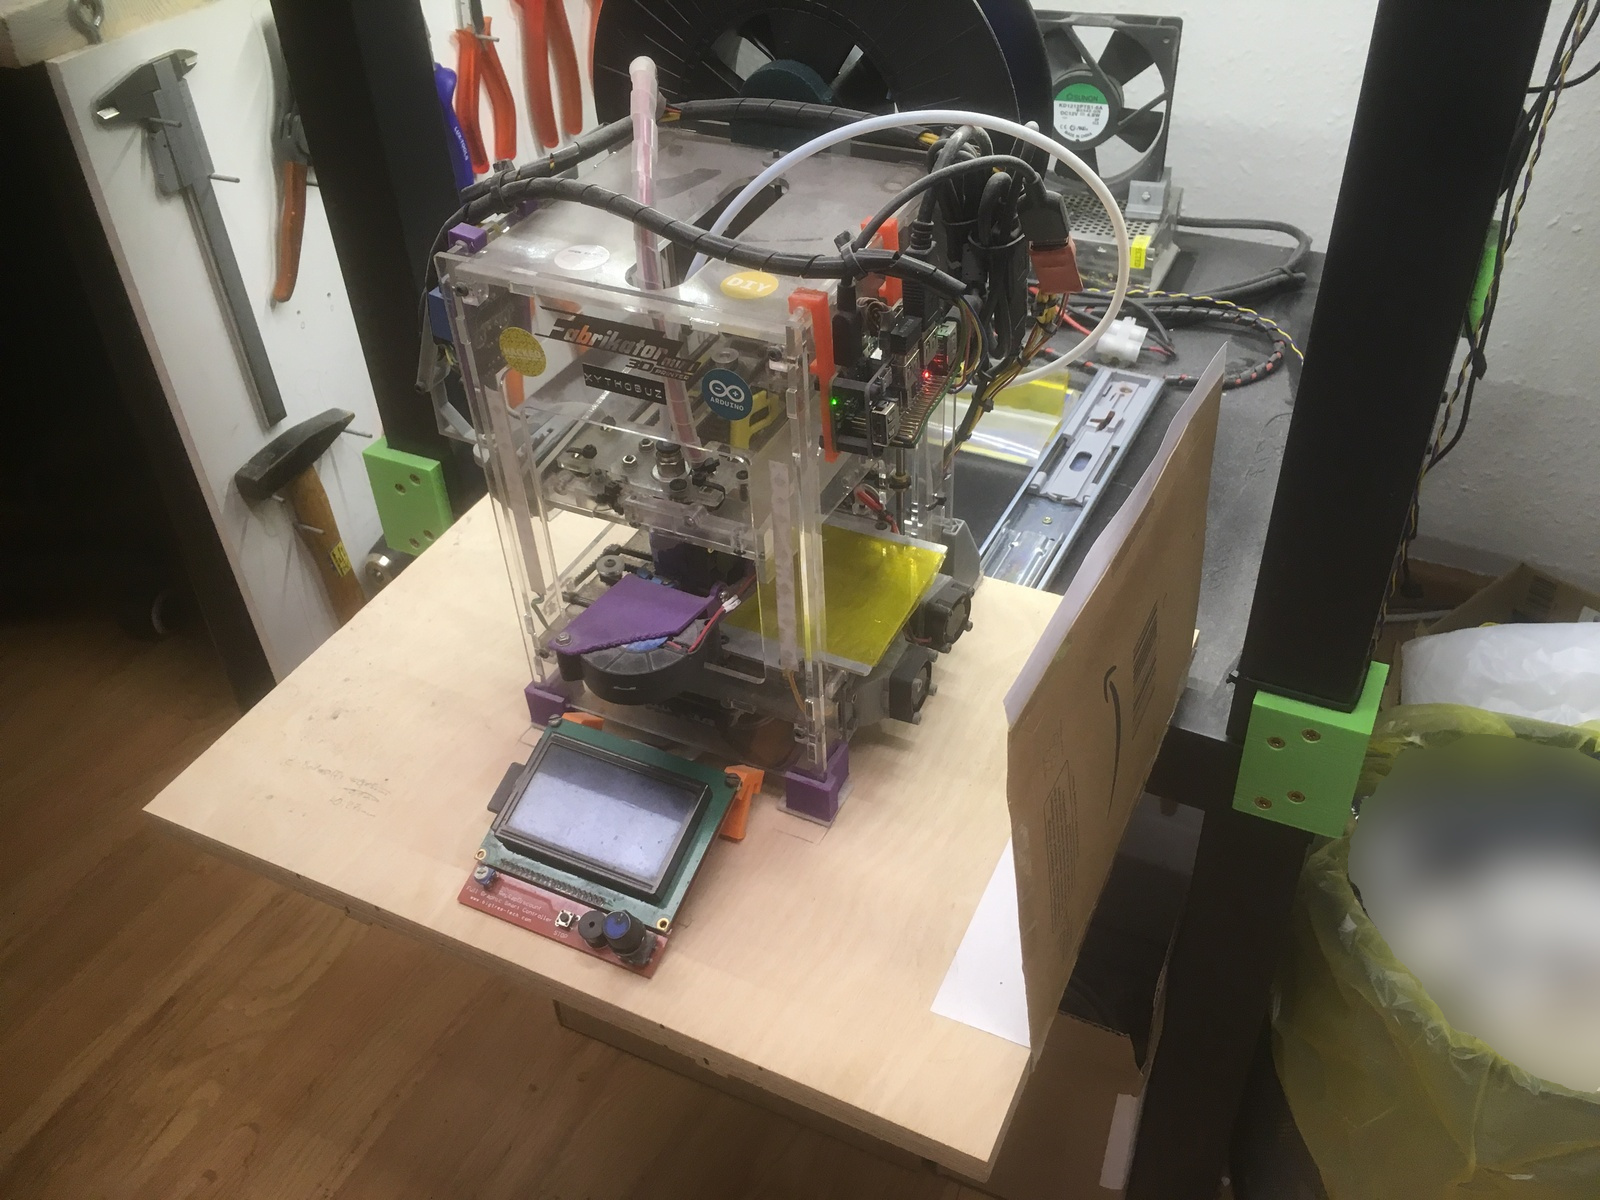
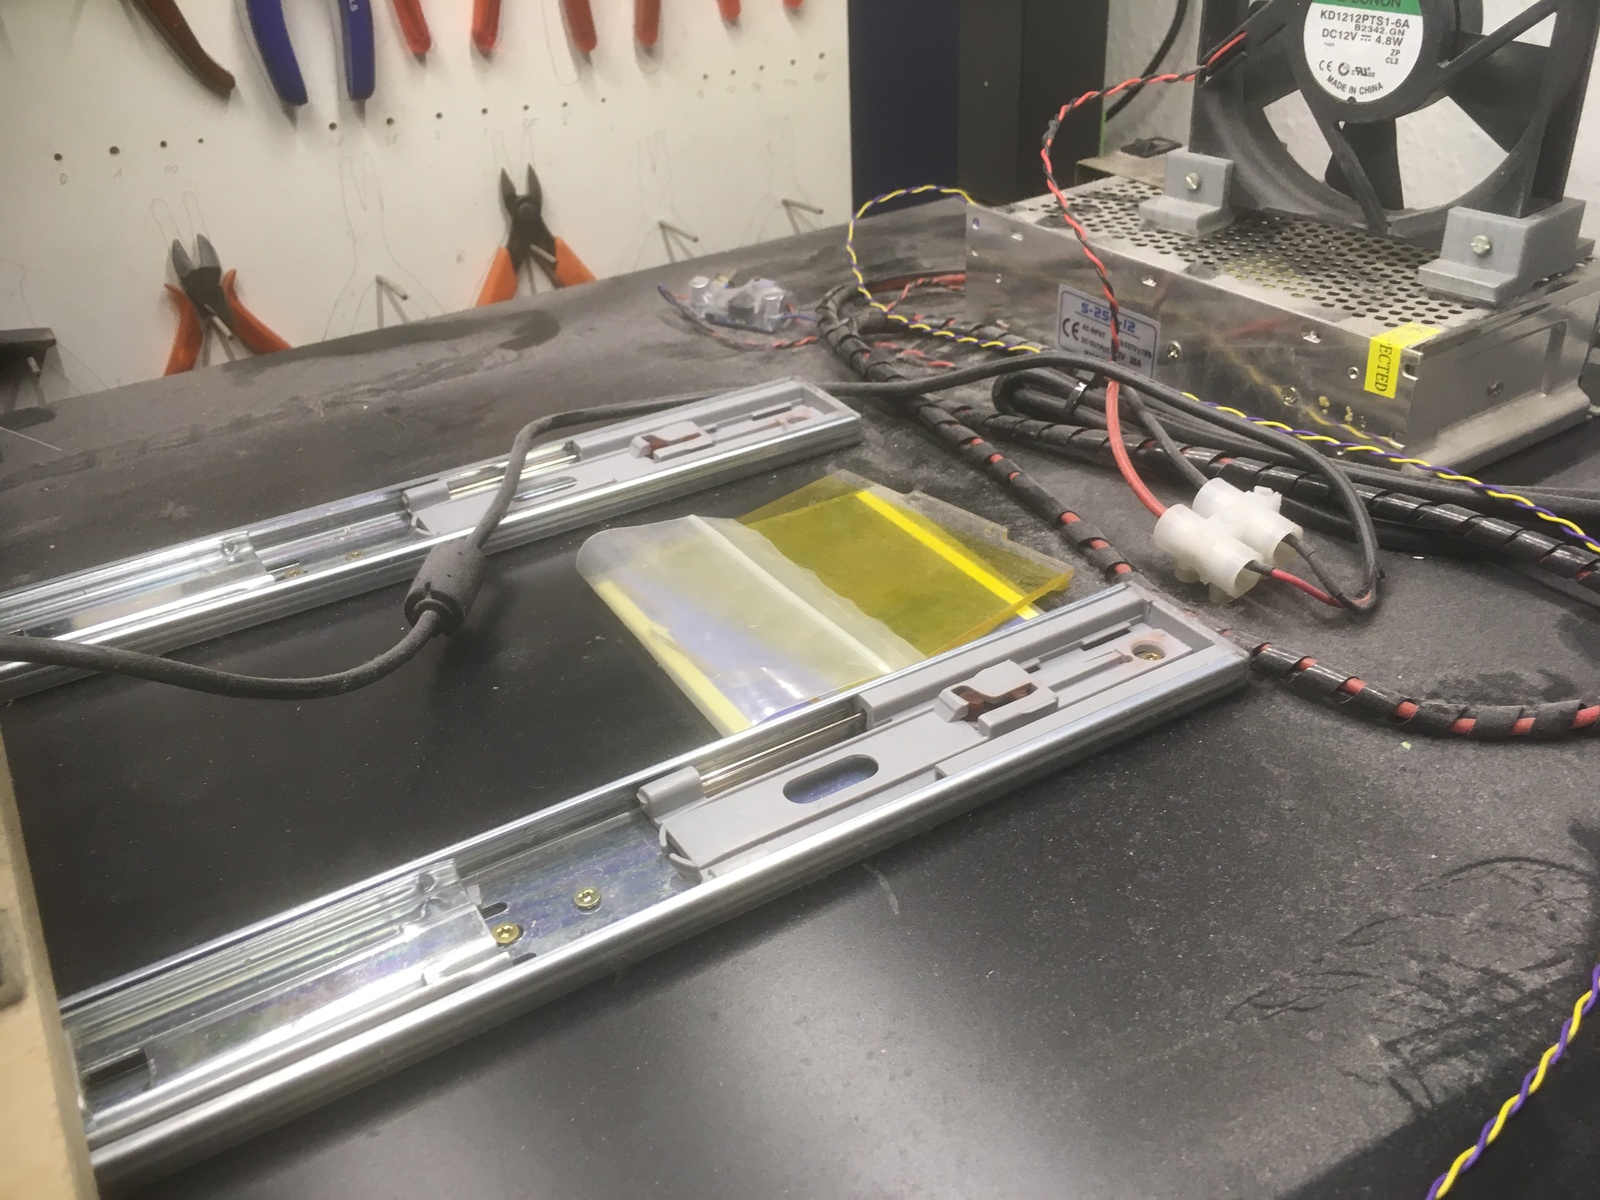
Slide-out table
To be able to better access the small Fabrikator Mini printer from all sides, I added a small shelf for it that can slide out. I simply used two common drawer rails for furniture. They have a spring mechanism that holds on relatively tight when the drawer is closed.
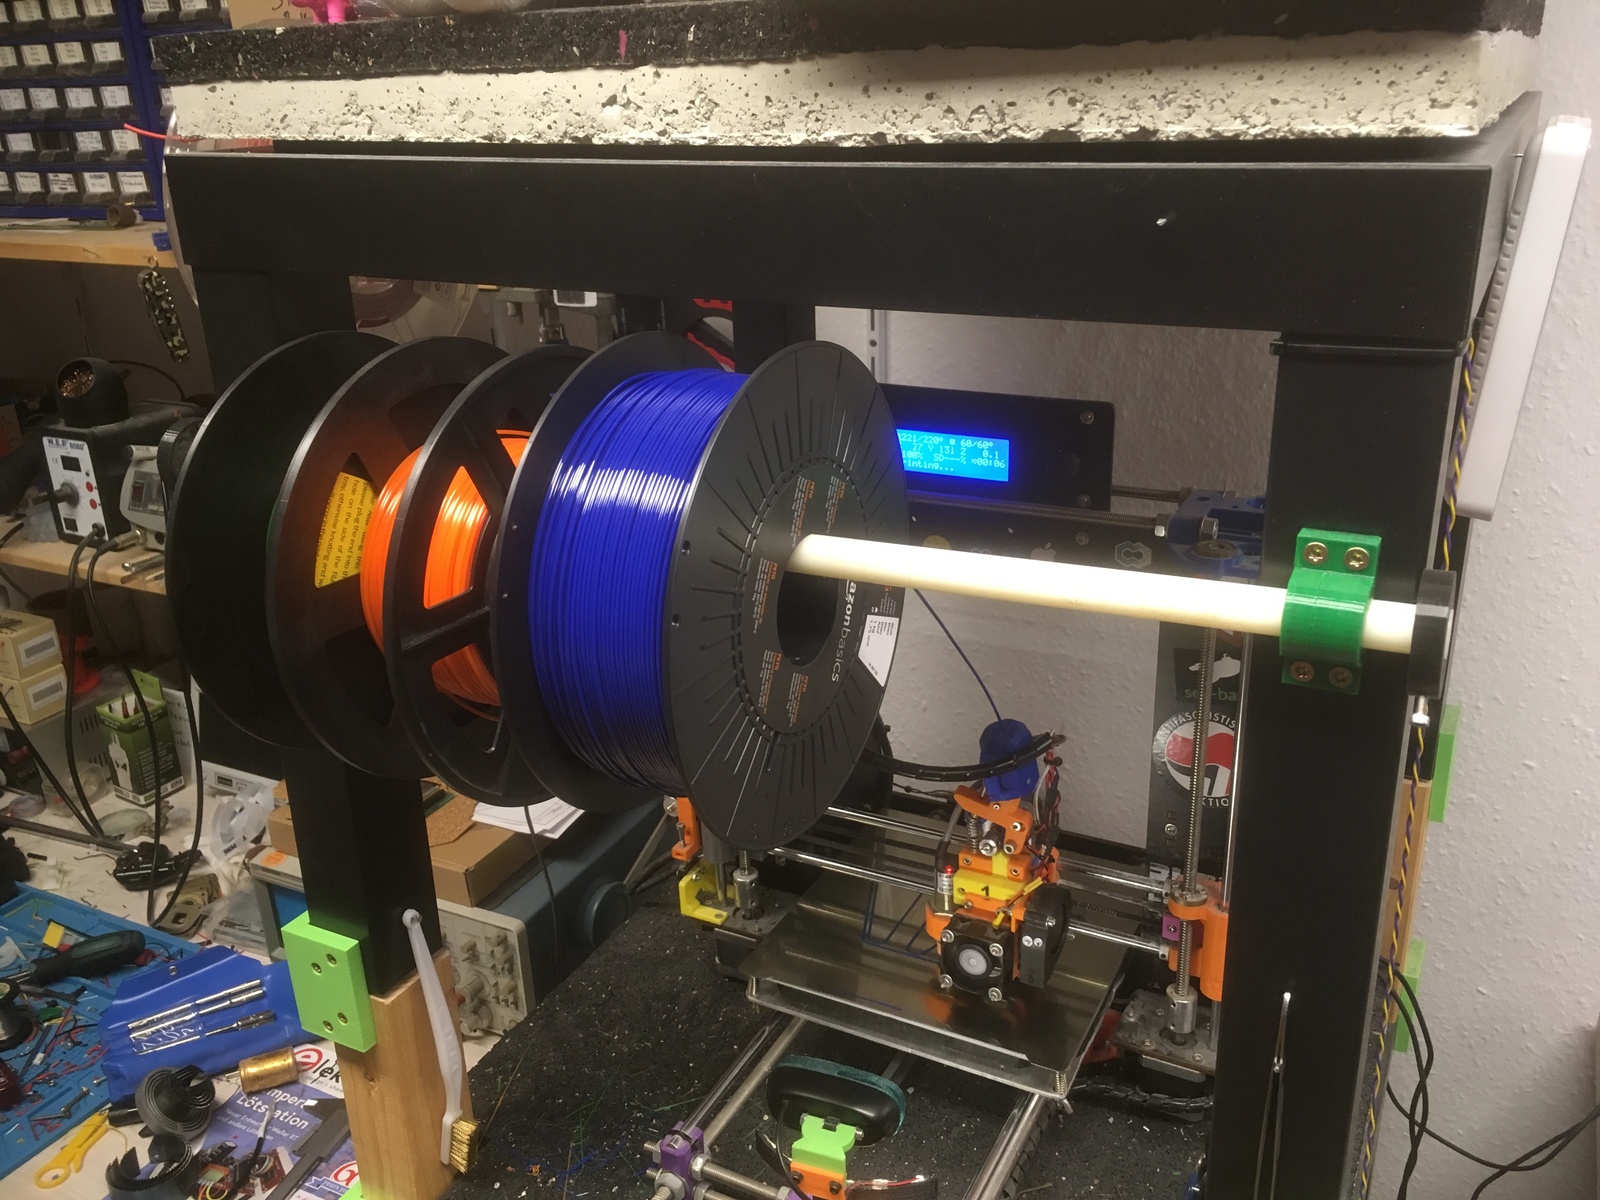
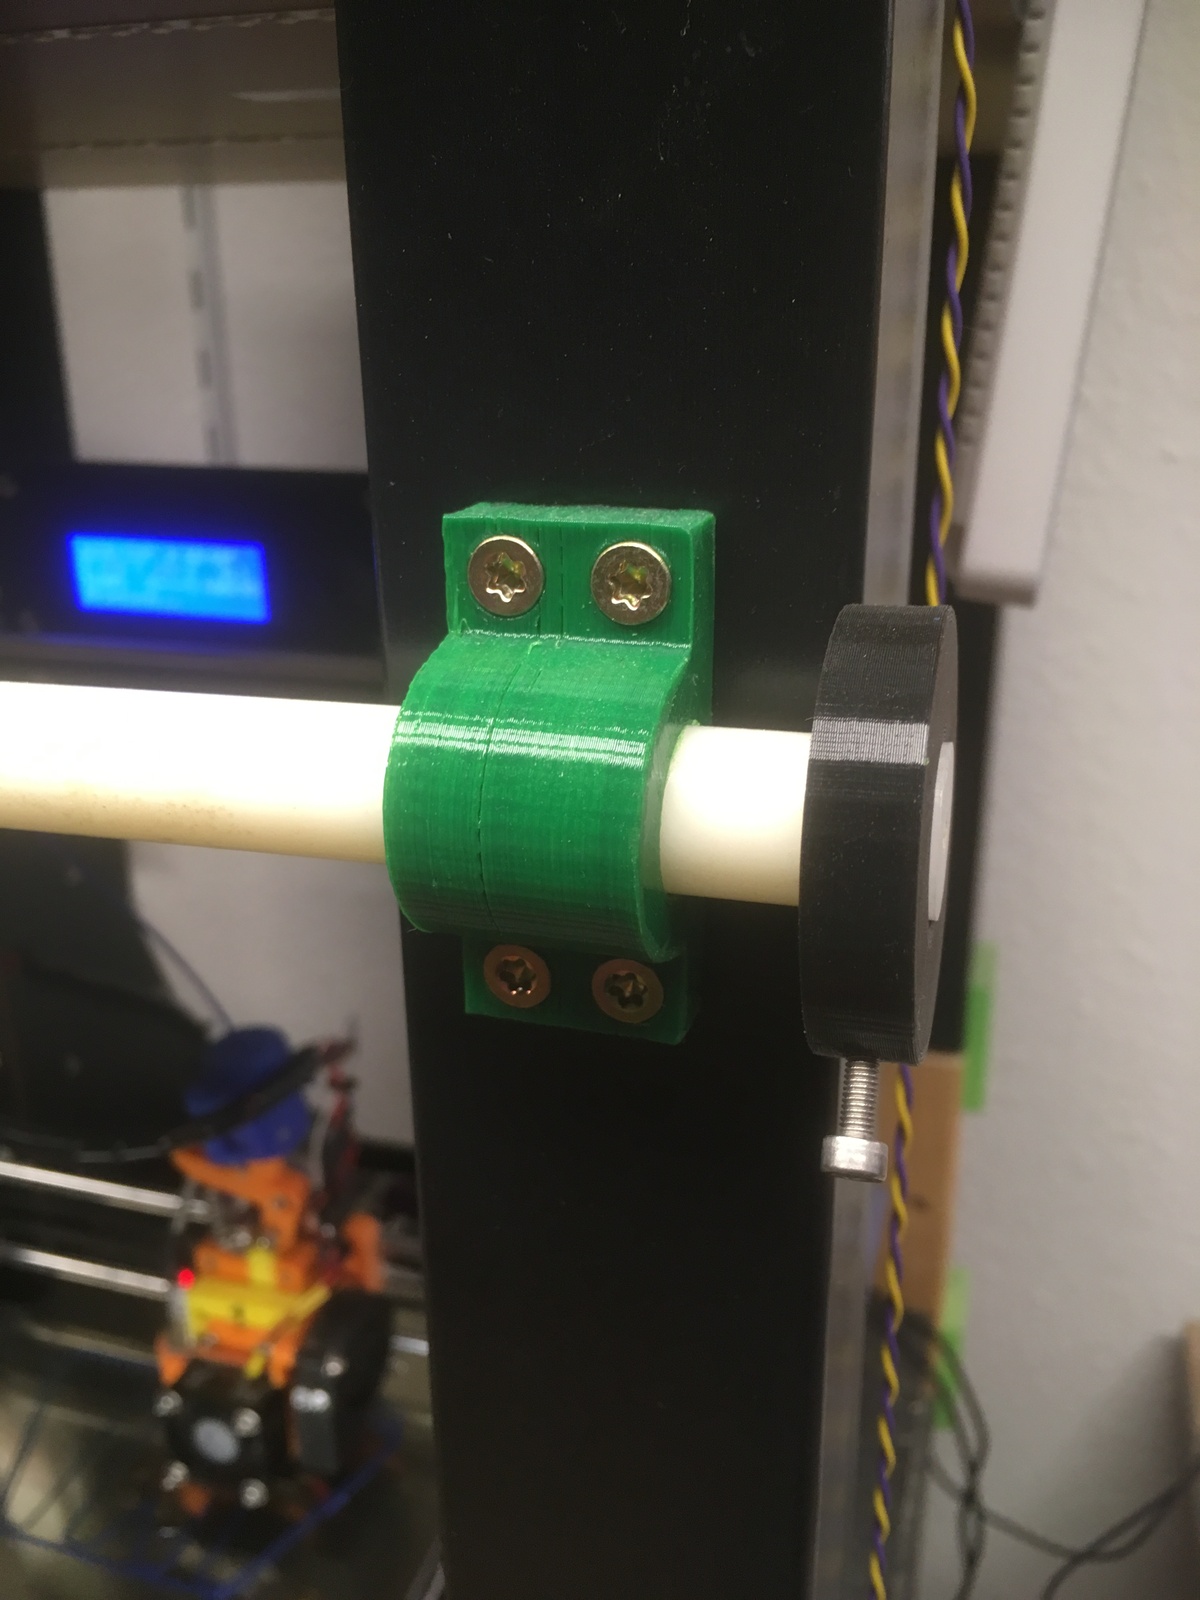
Filament holder
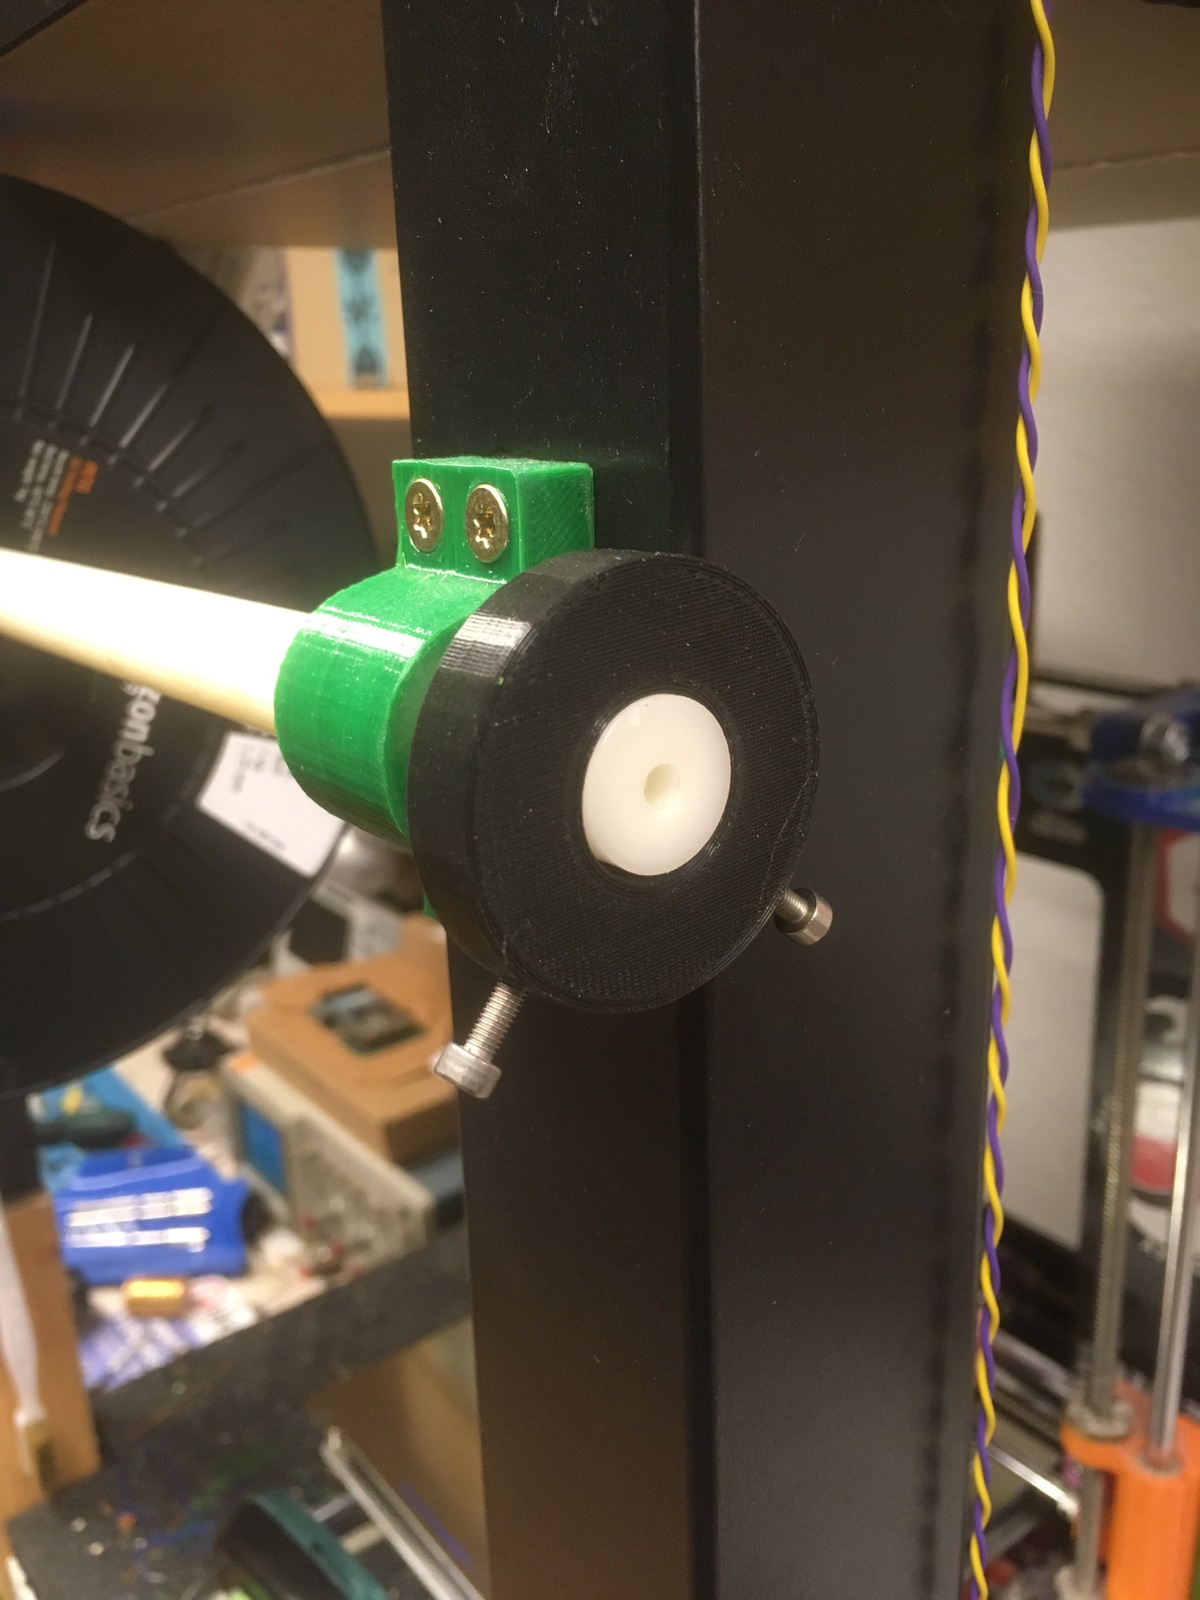
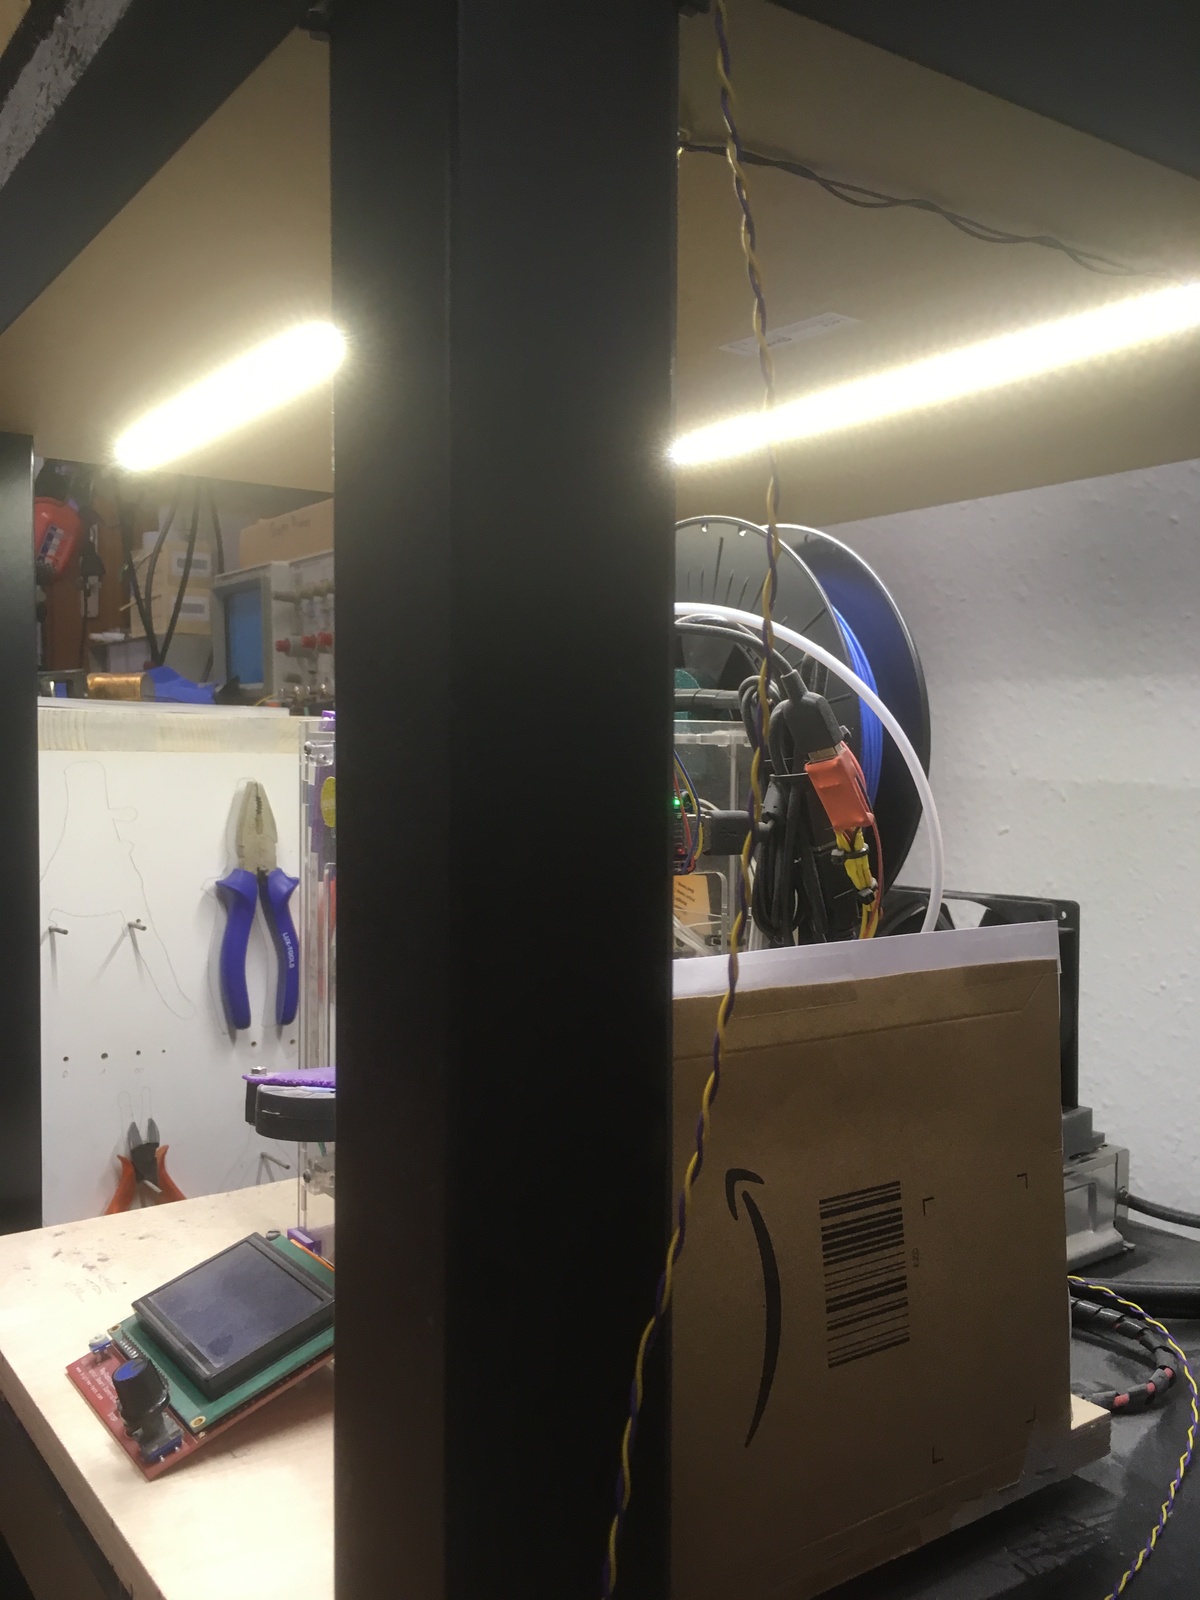
Before building this Lack tower, I had the filament spool mounted on a holder on top of the 3D printer. For the Fabrikator Mini this is still possible, as it is small enough, but the CTC i3 Pro B does not fit with spools ontop into the tower while having a resonable height for the third level. Because of that, I experimented with different spool mounting solutions. As a first temporary step, I had the spool on bearing rollers just on the table next to the Lack tower. To save space, I next attempted to mount a filament spool holder on the side of the tower, with the filament going through two rollers to direct it towards the extruder. This had far too much resistance however and I did not get any usable print results. My current solution is using the old plastic bar I had in use before, mounted on top of the printer. I simply affixed it to the front of the tower using a simple self-designed holder. Sidewards movement is prevented by two printed discs with two screws on each side. This solution works very well and does not take up too much further space.
My design files for the filament holder can be found in my Git repo.
Lights
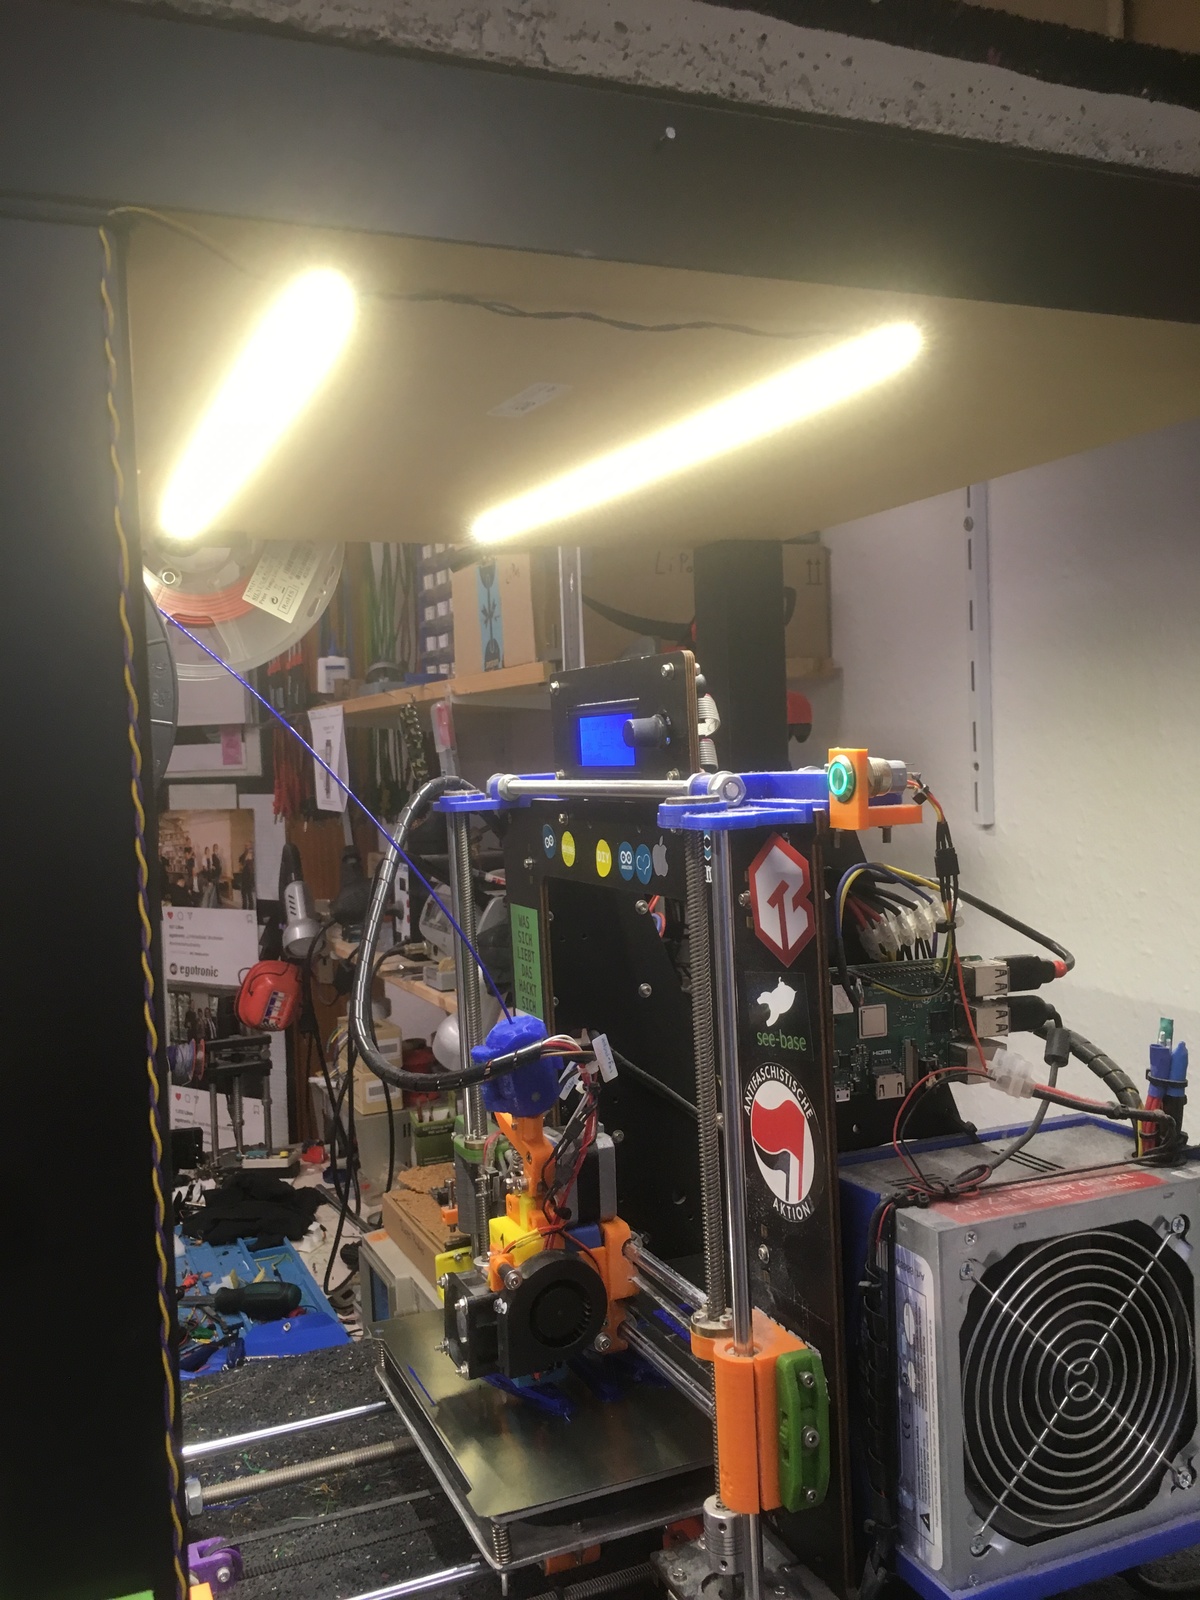
To be able to better see in-progress prints, I decided to mount some LED light strips to the bottom sides of the two upper tables. I am using 12V warm-white LED strips with 120 LEDs per meter. They are simply connected to the 12V power supply of the Fabrikator Mini. That was the easiest solution for now, although they flicker somewhat when the Fabrikator Mini is running. I have to think of another solution for that, probably a second power supply.
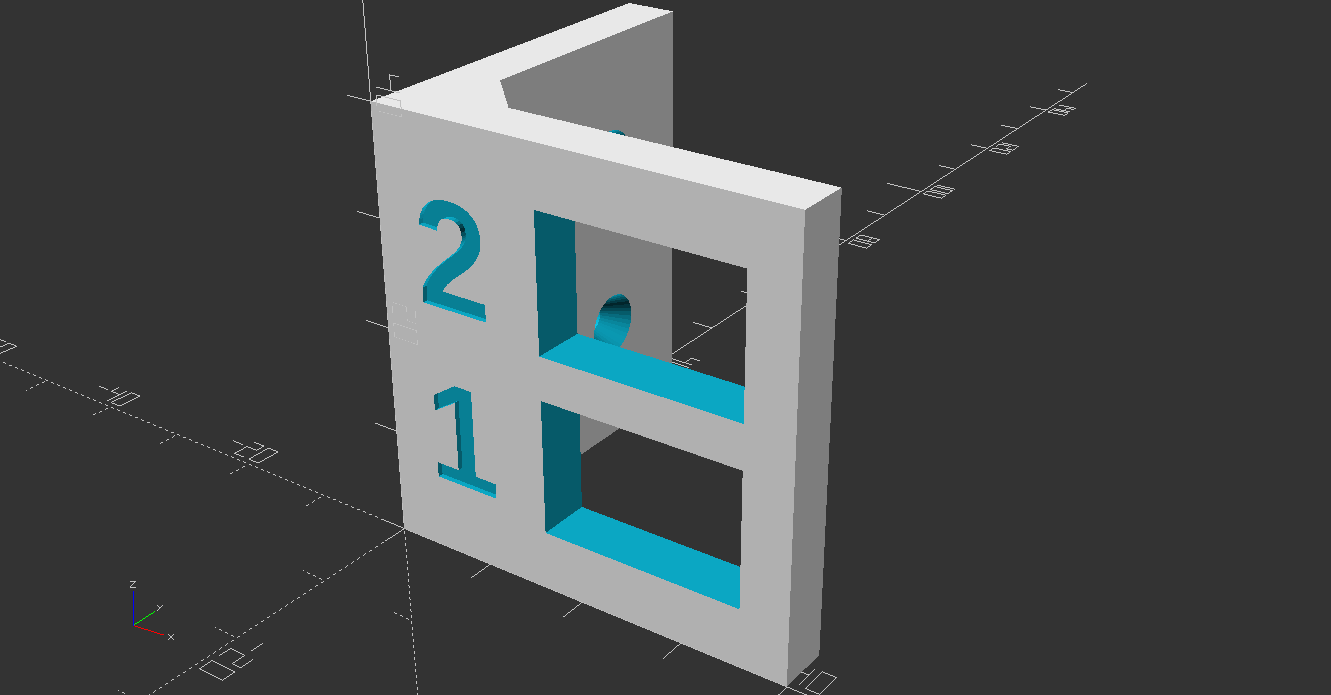
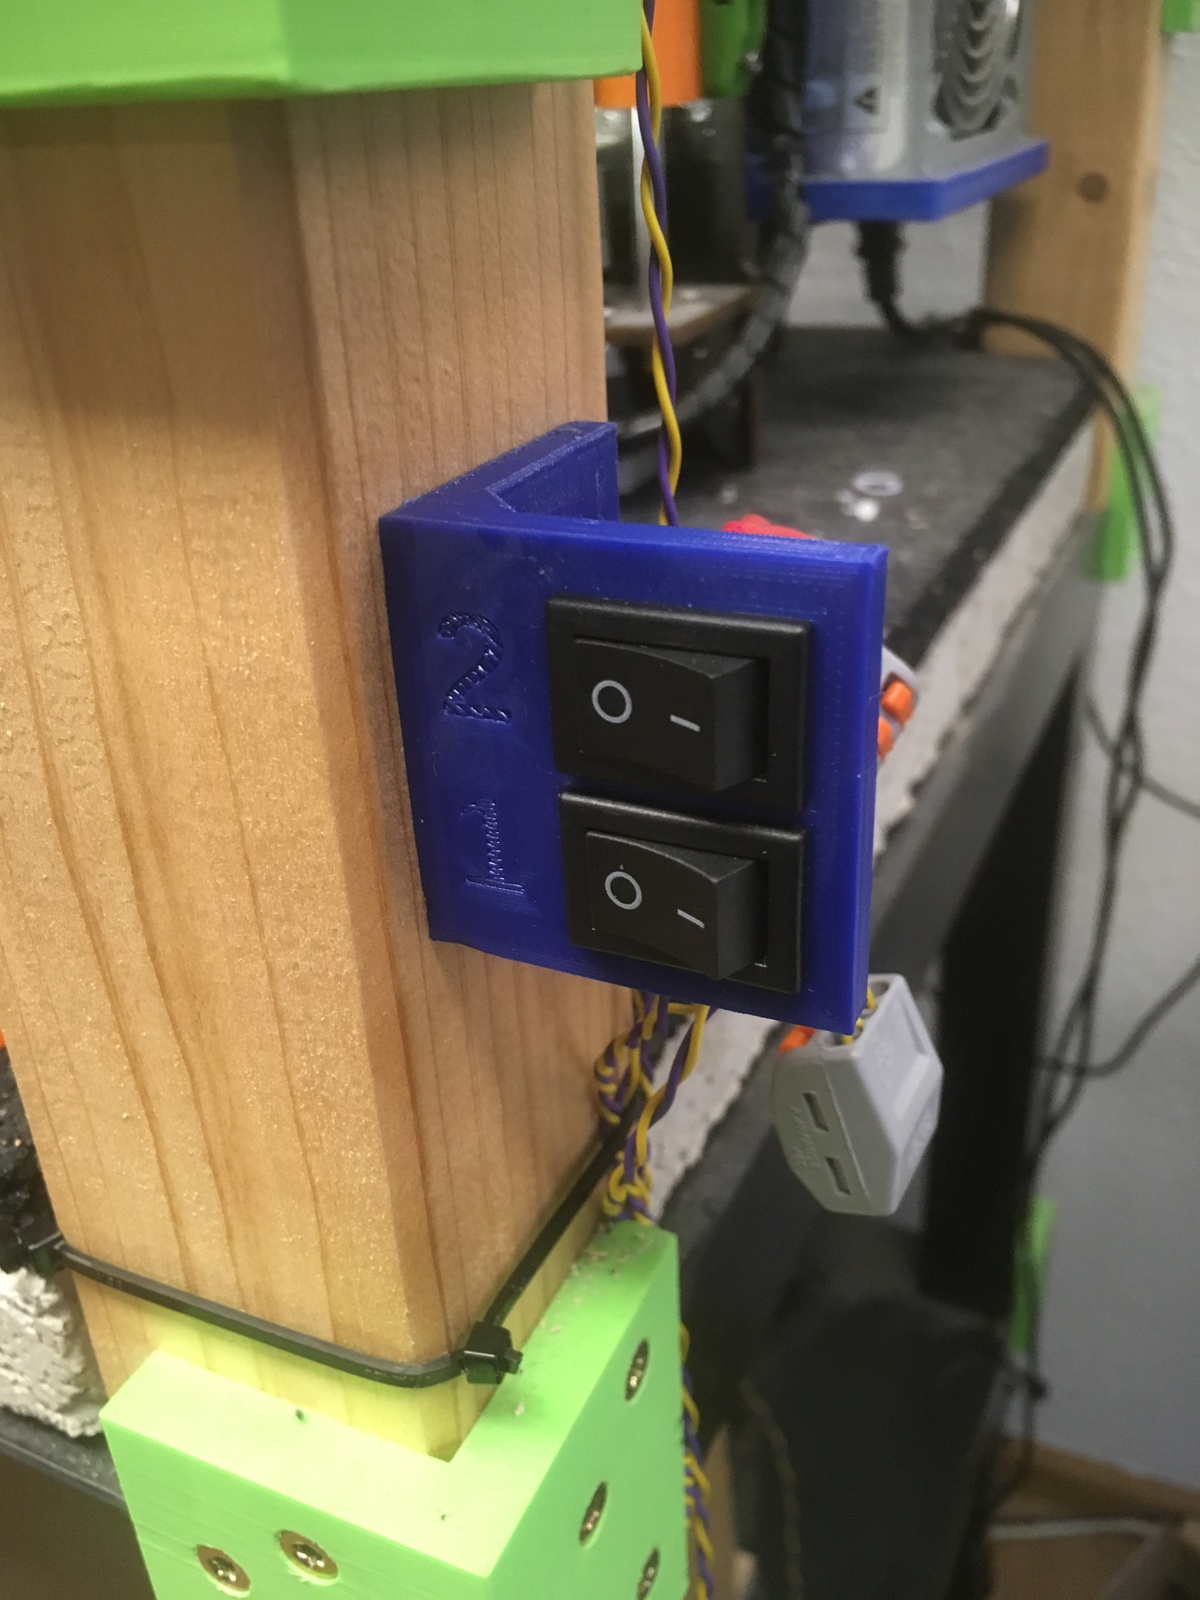
My design files for the light switch mount can be found in my Git repo.
Concrete slab for noise and vibration dampening
Unfortunately, because the Ikea Lack tables are very lightweight and also hollow, they tend to amplify the sound coming from the 3D printers on them. But there is an easy solution to this: vibration dampening by increasing the mass. This can be achieved for example by simply creating a large concrete slab. In my case, it weighs about 17kg.
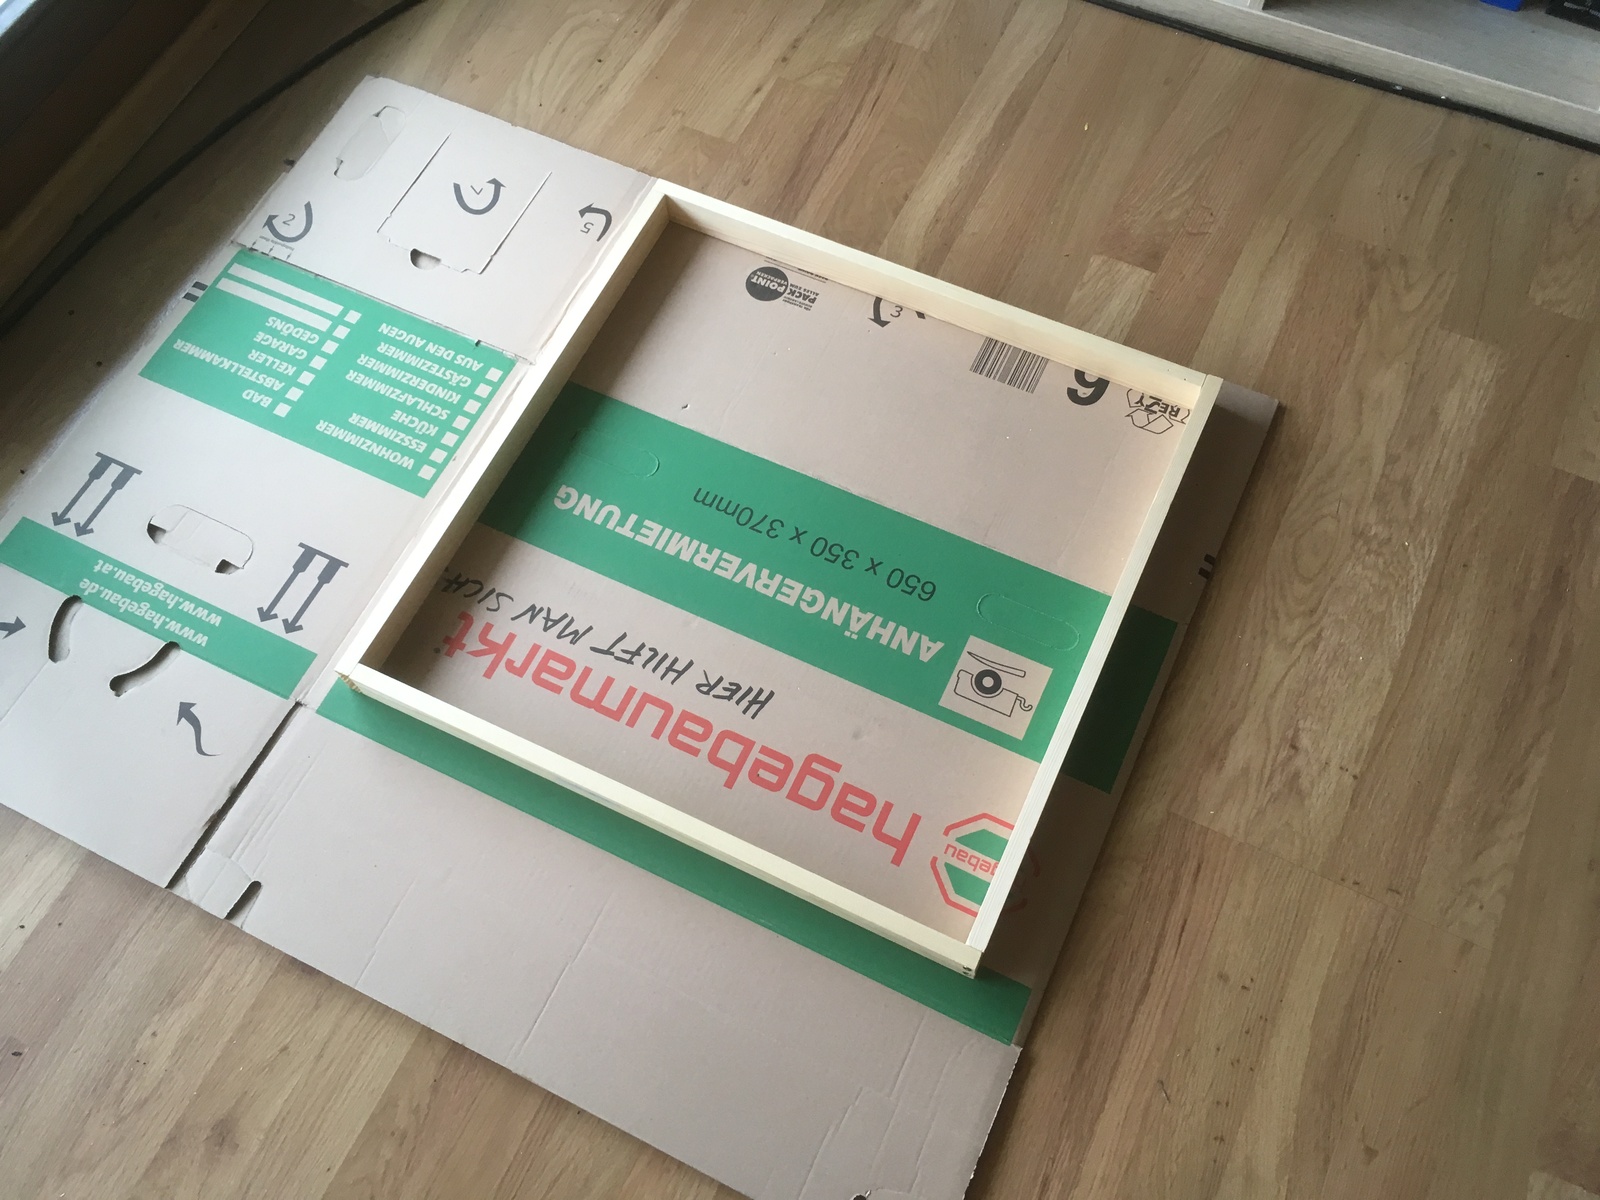
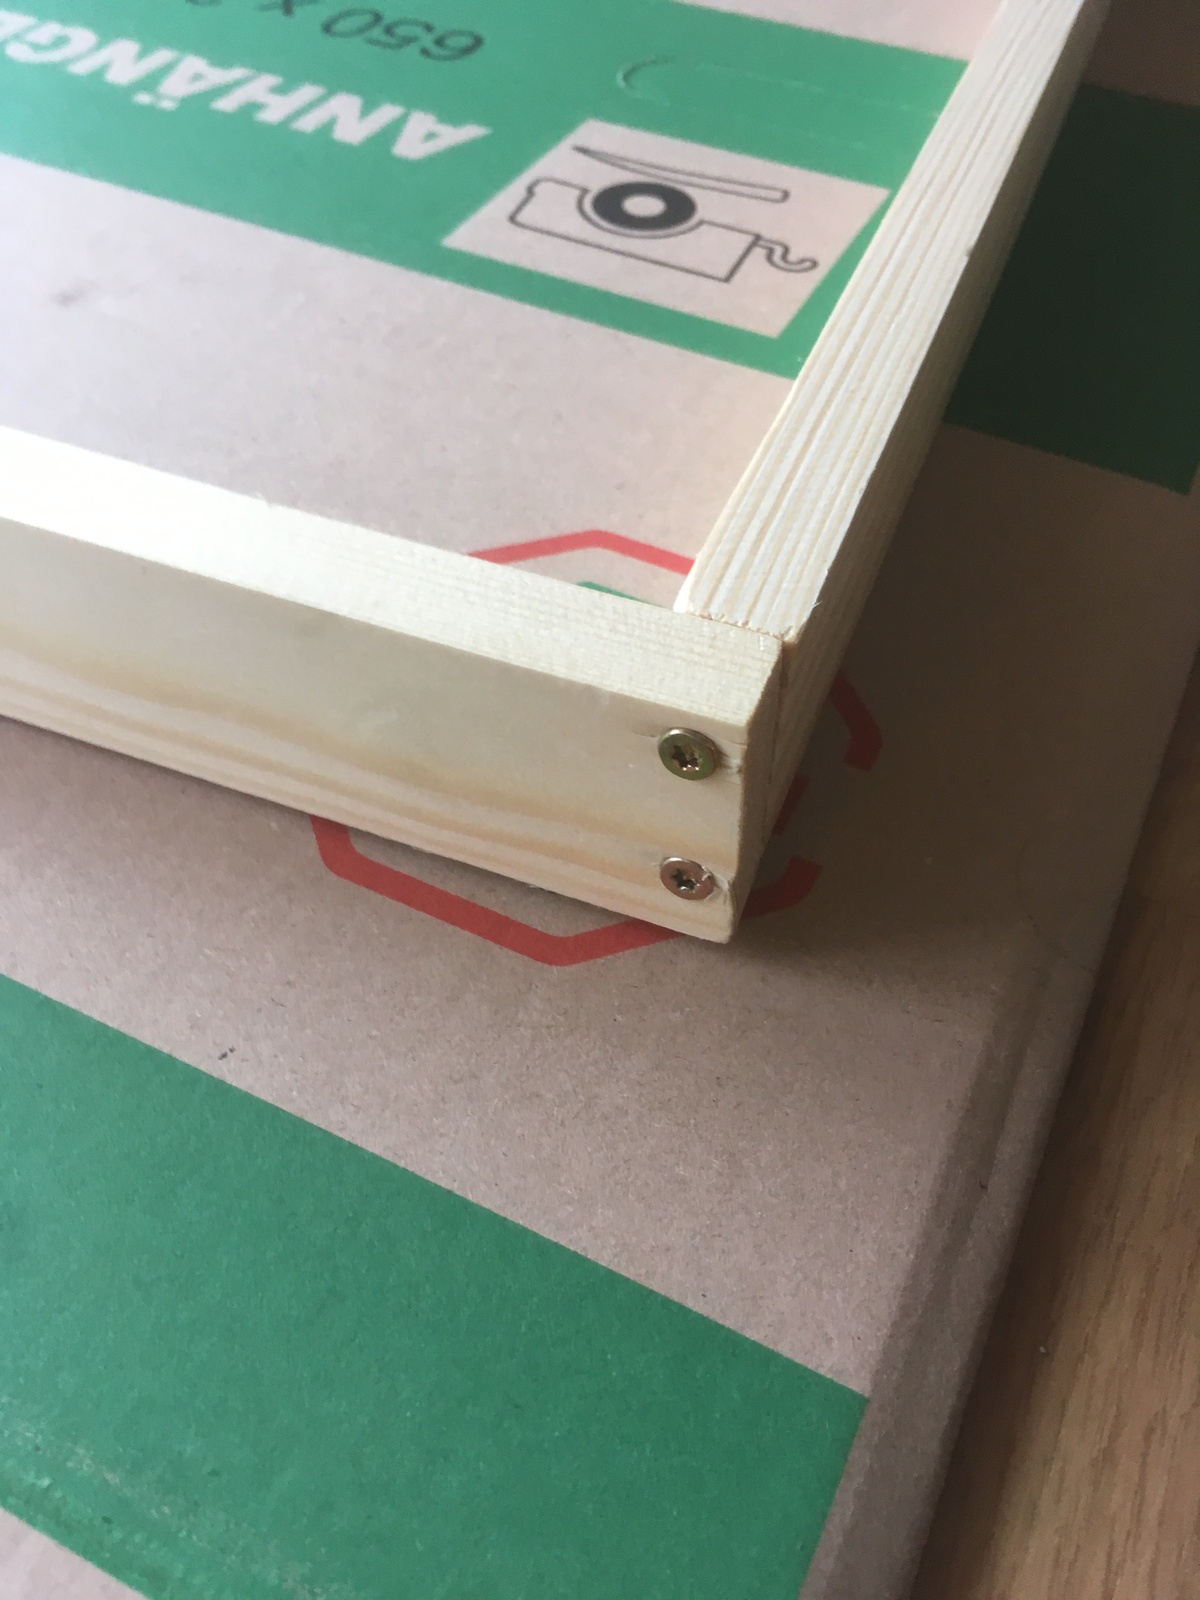
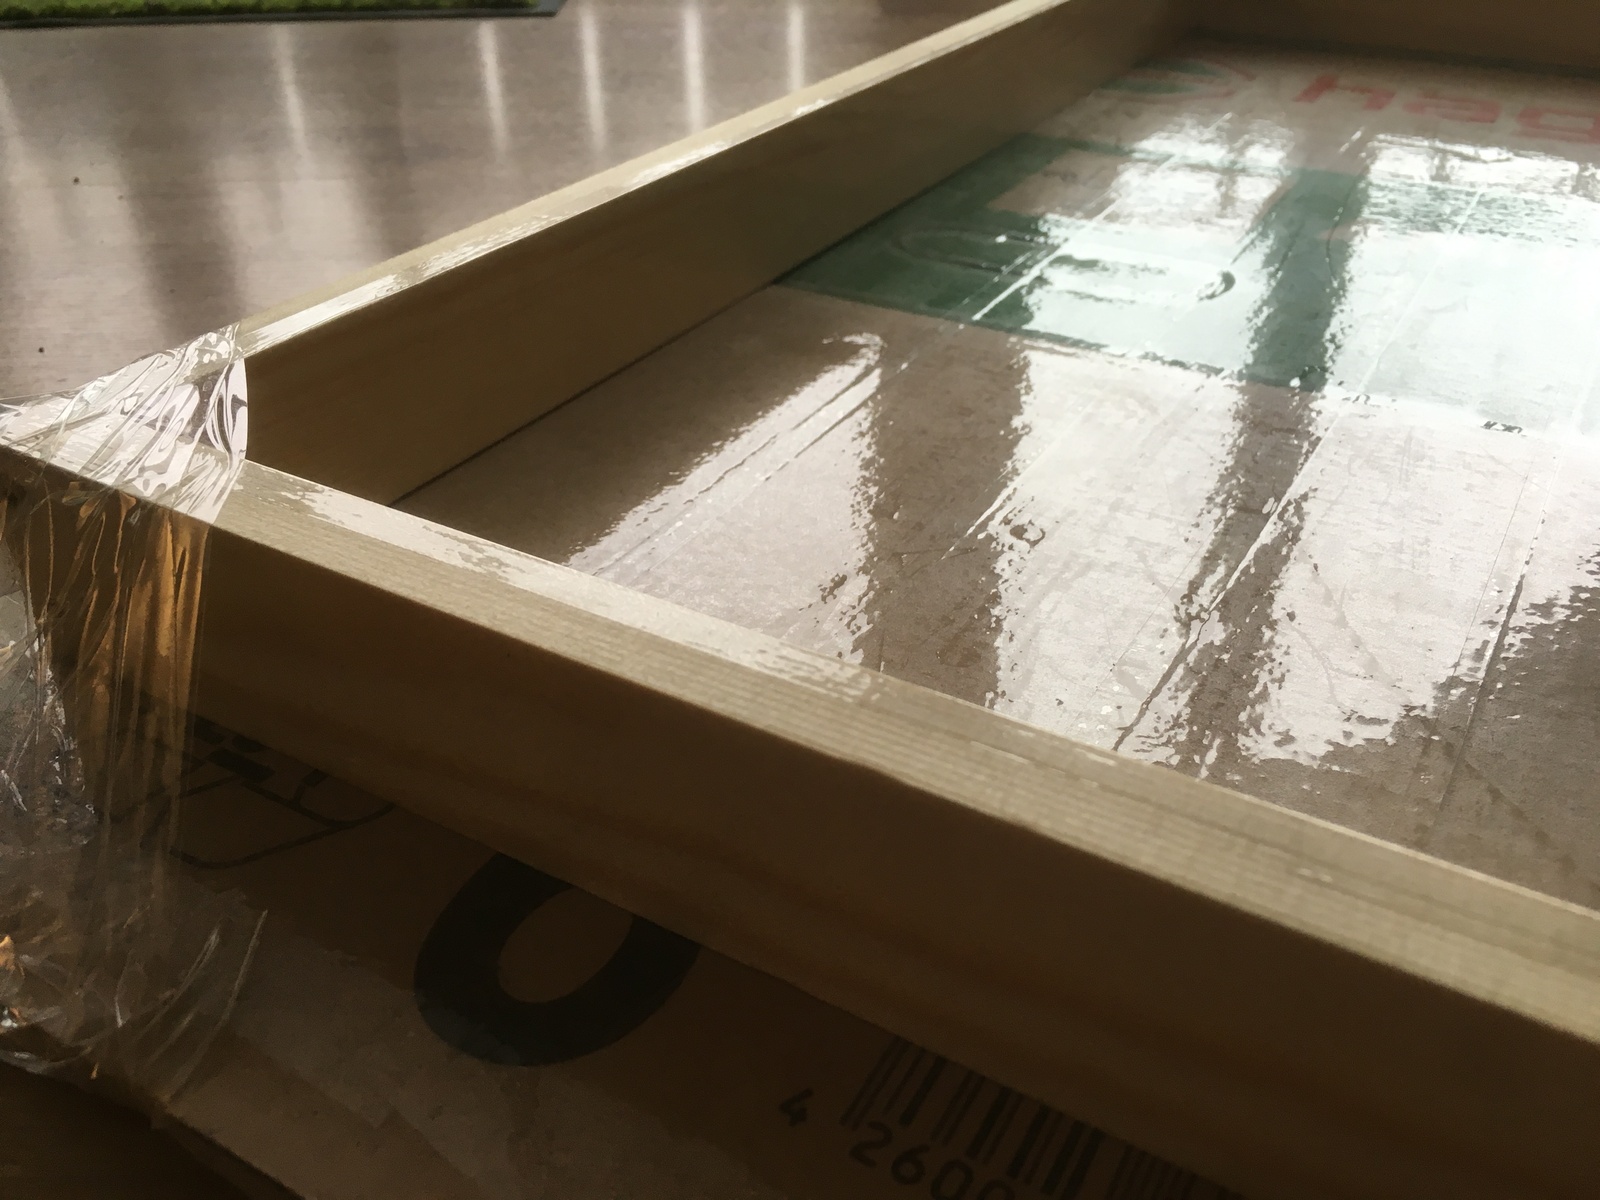
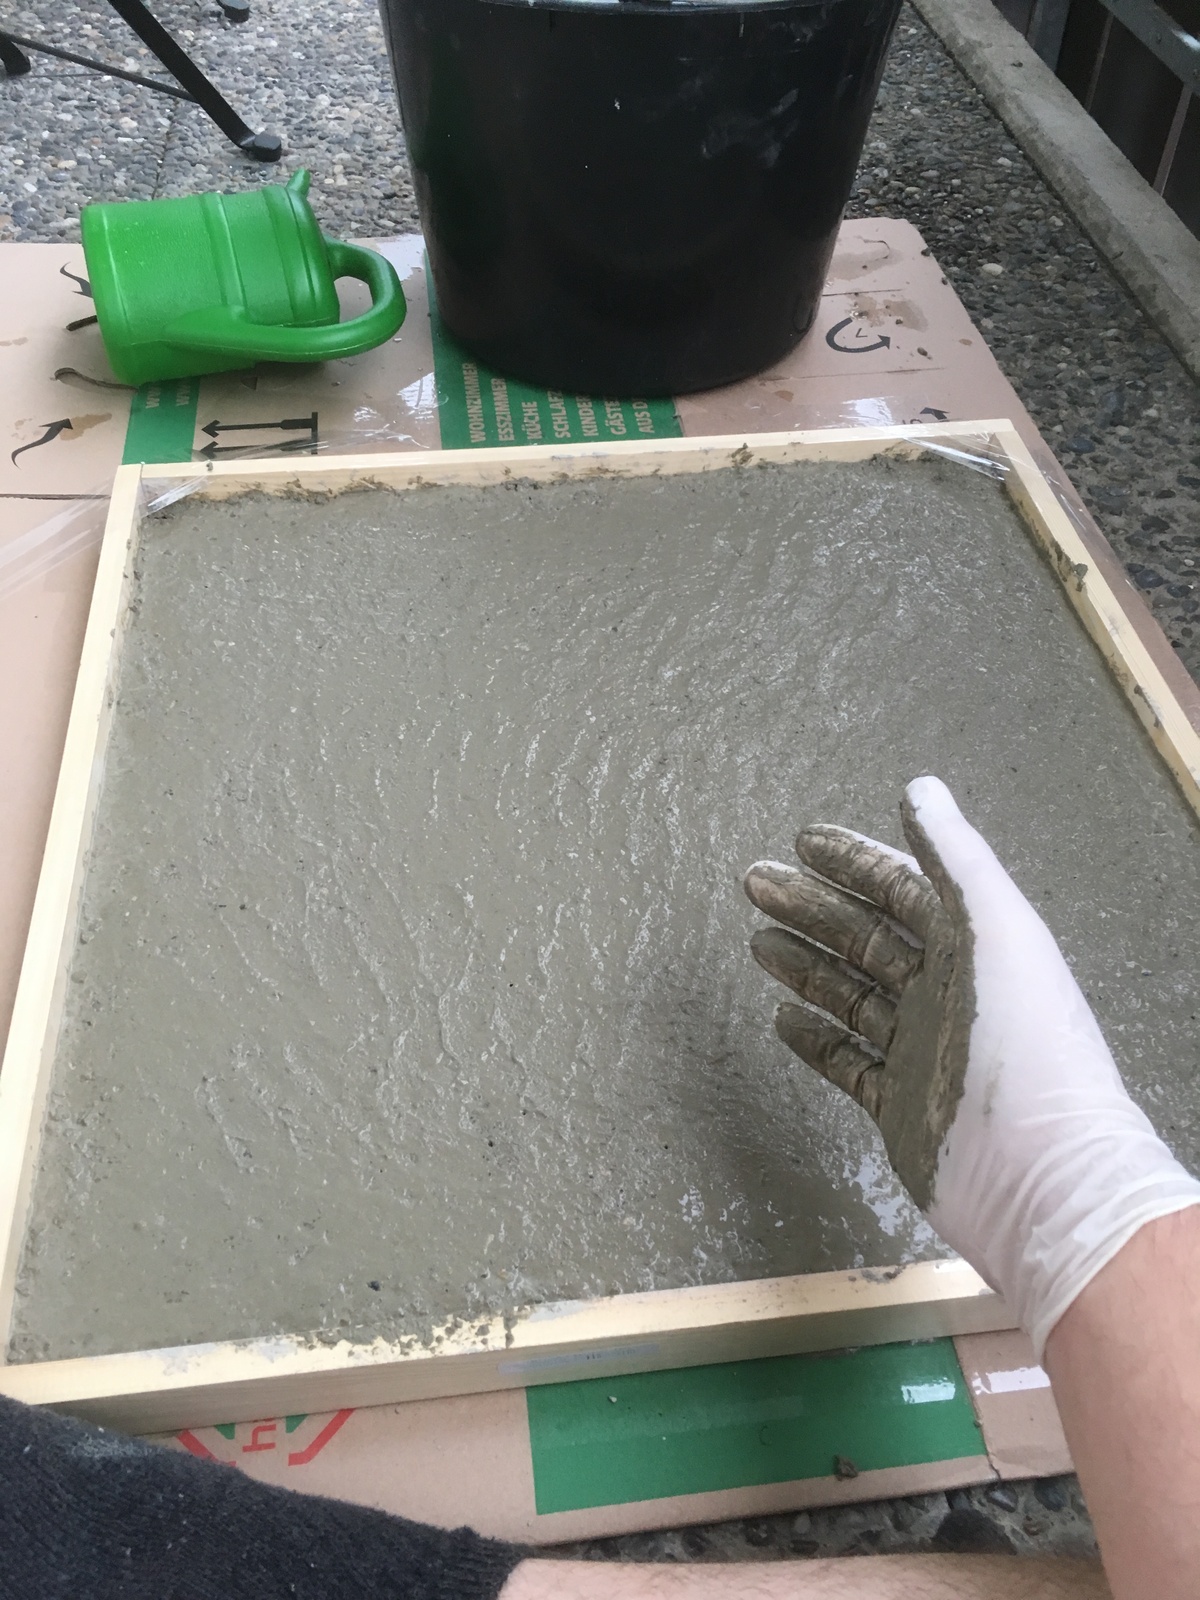
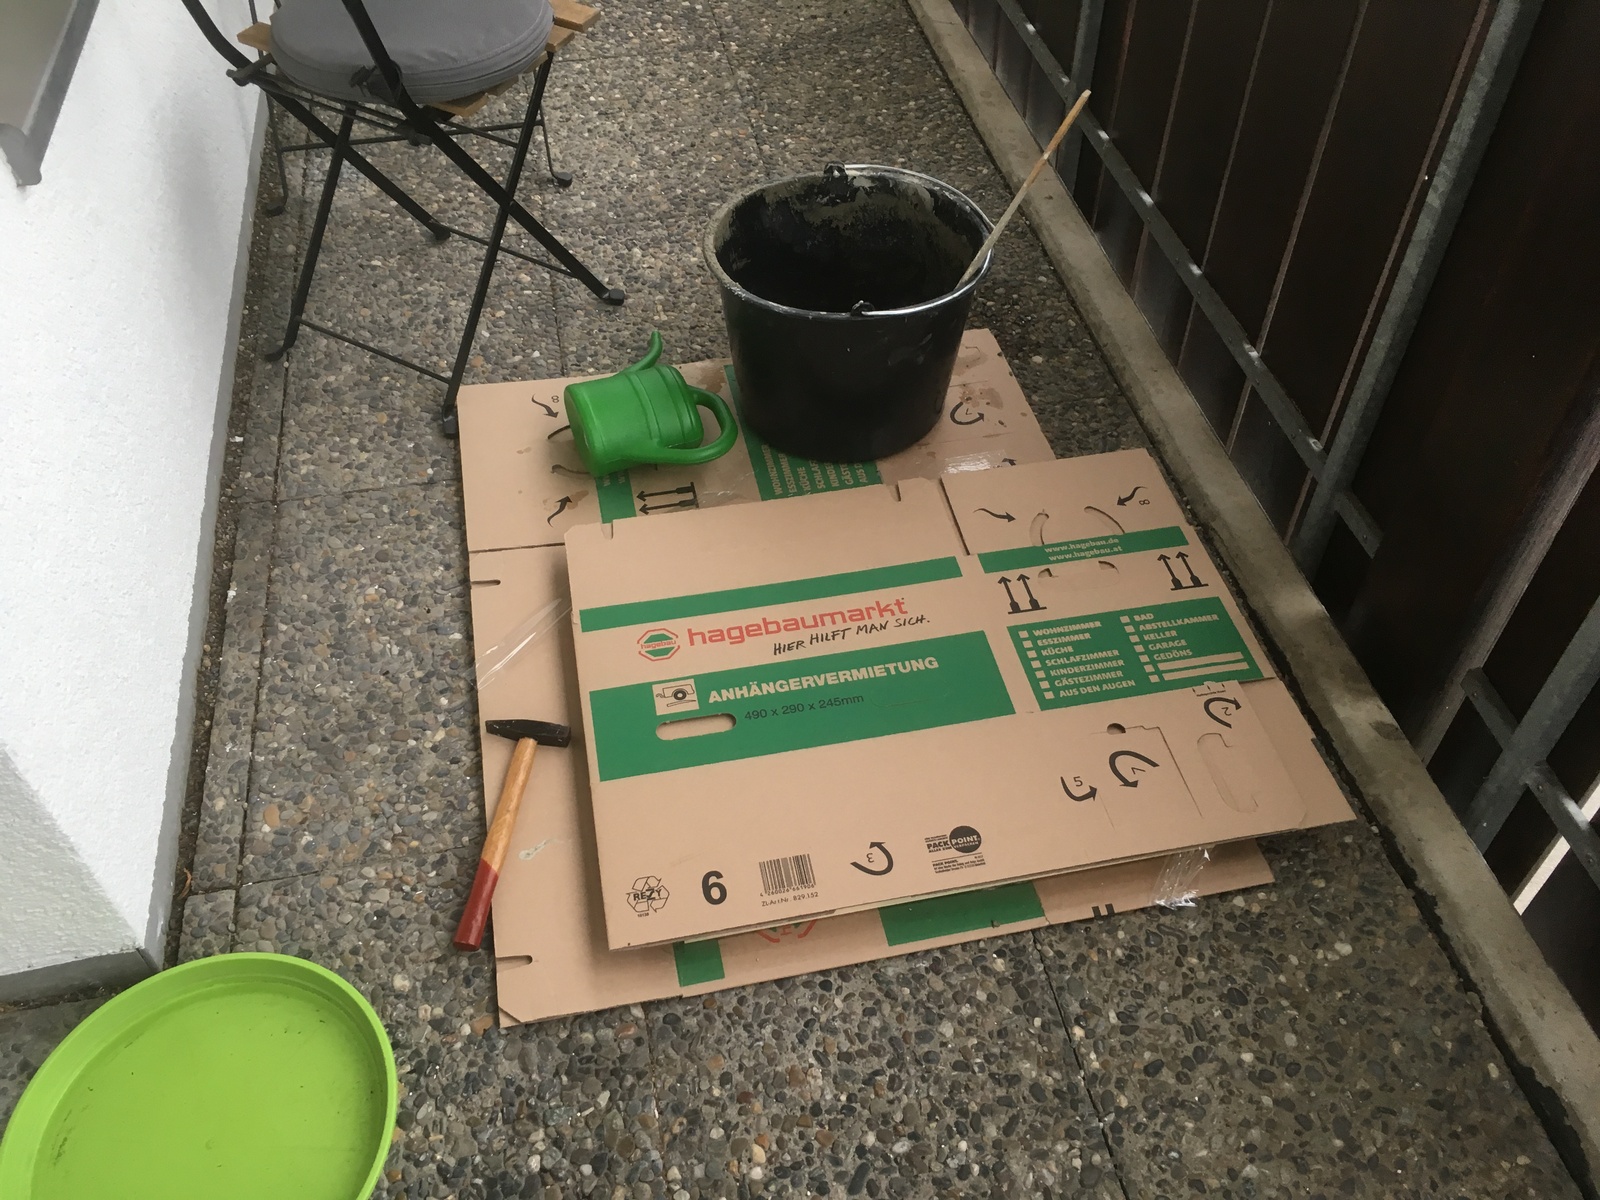
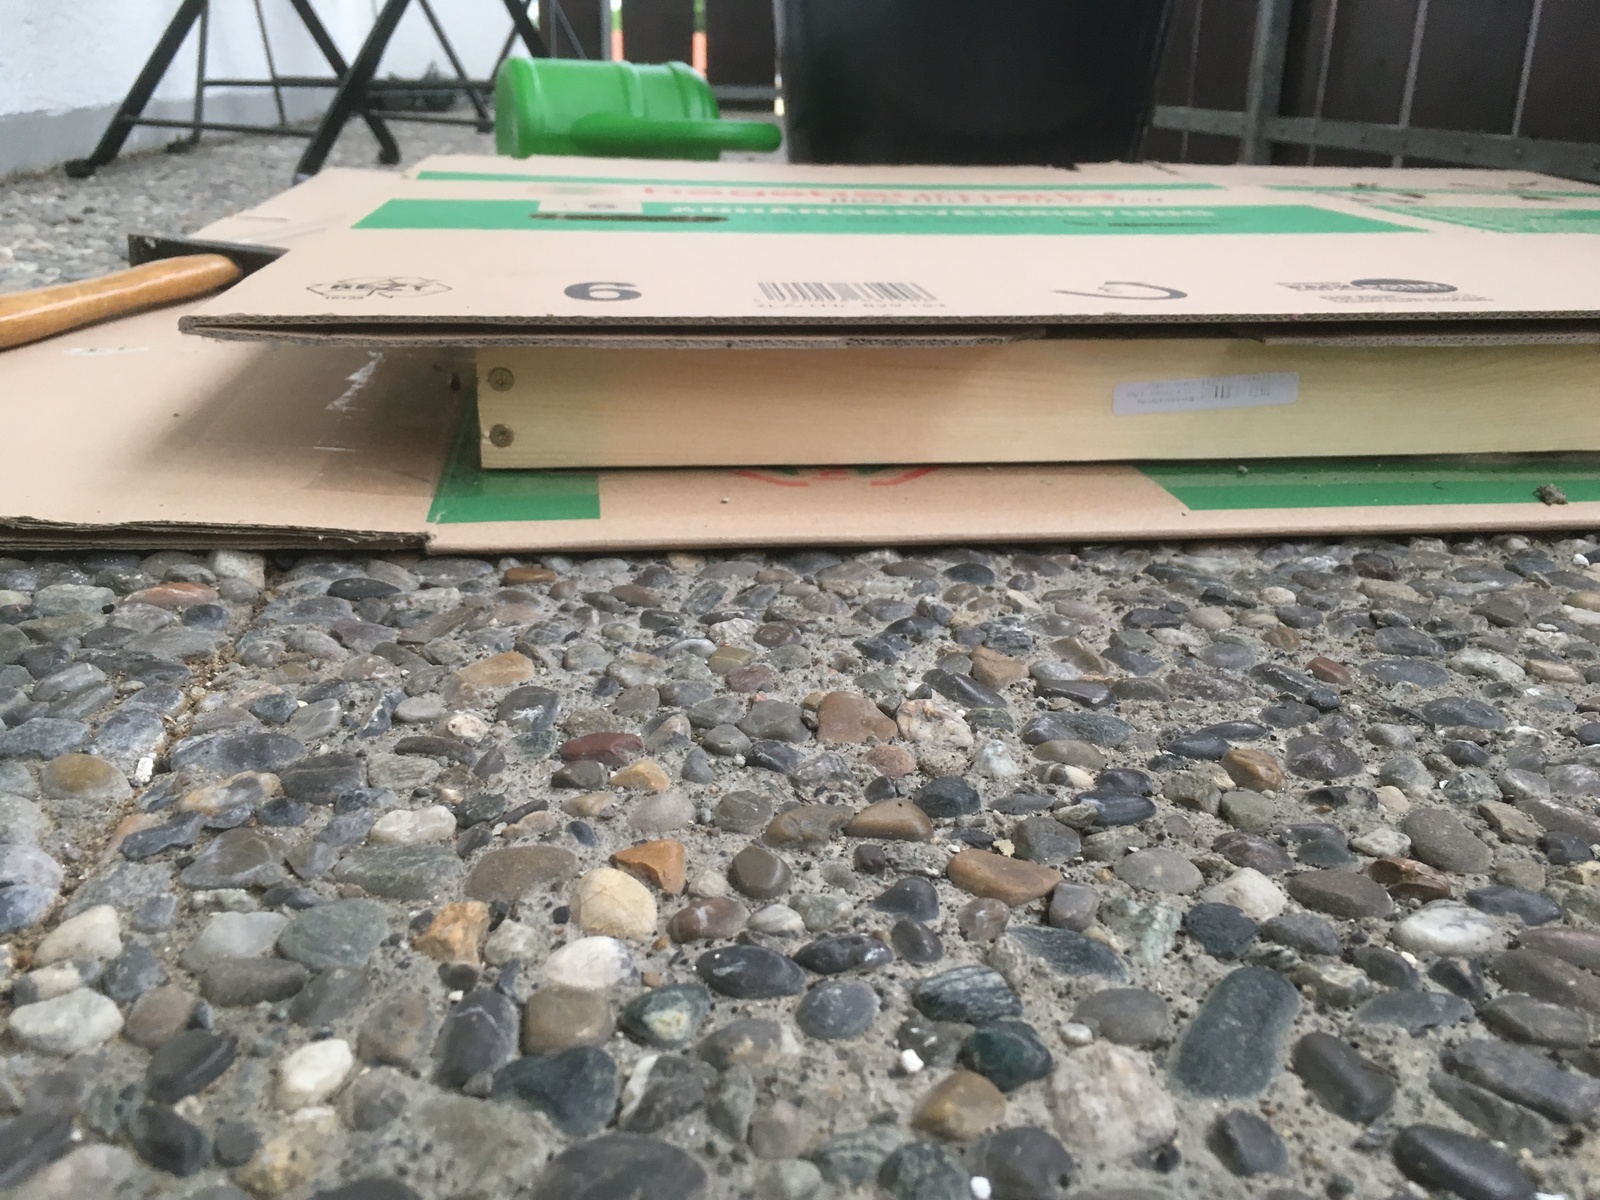
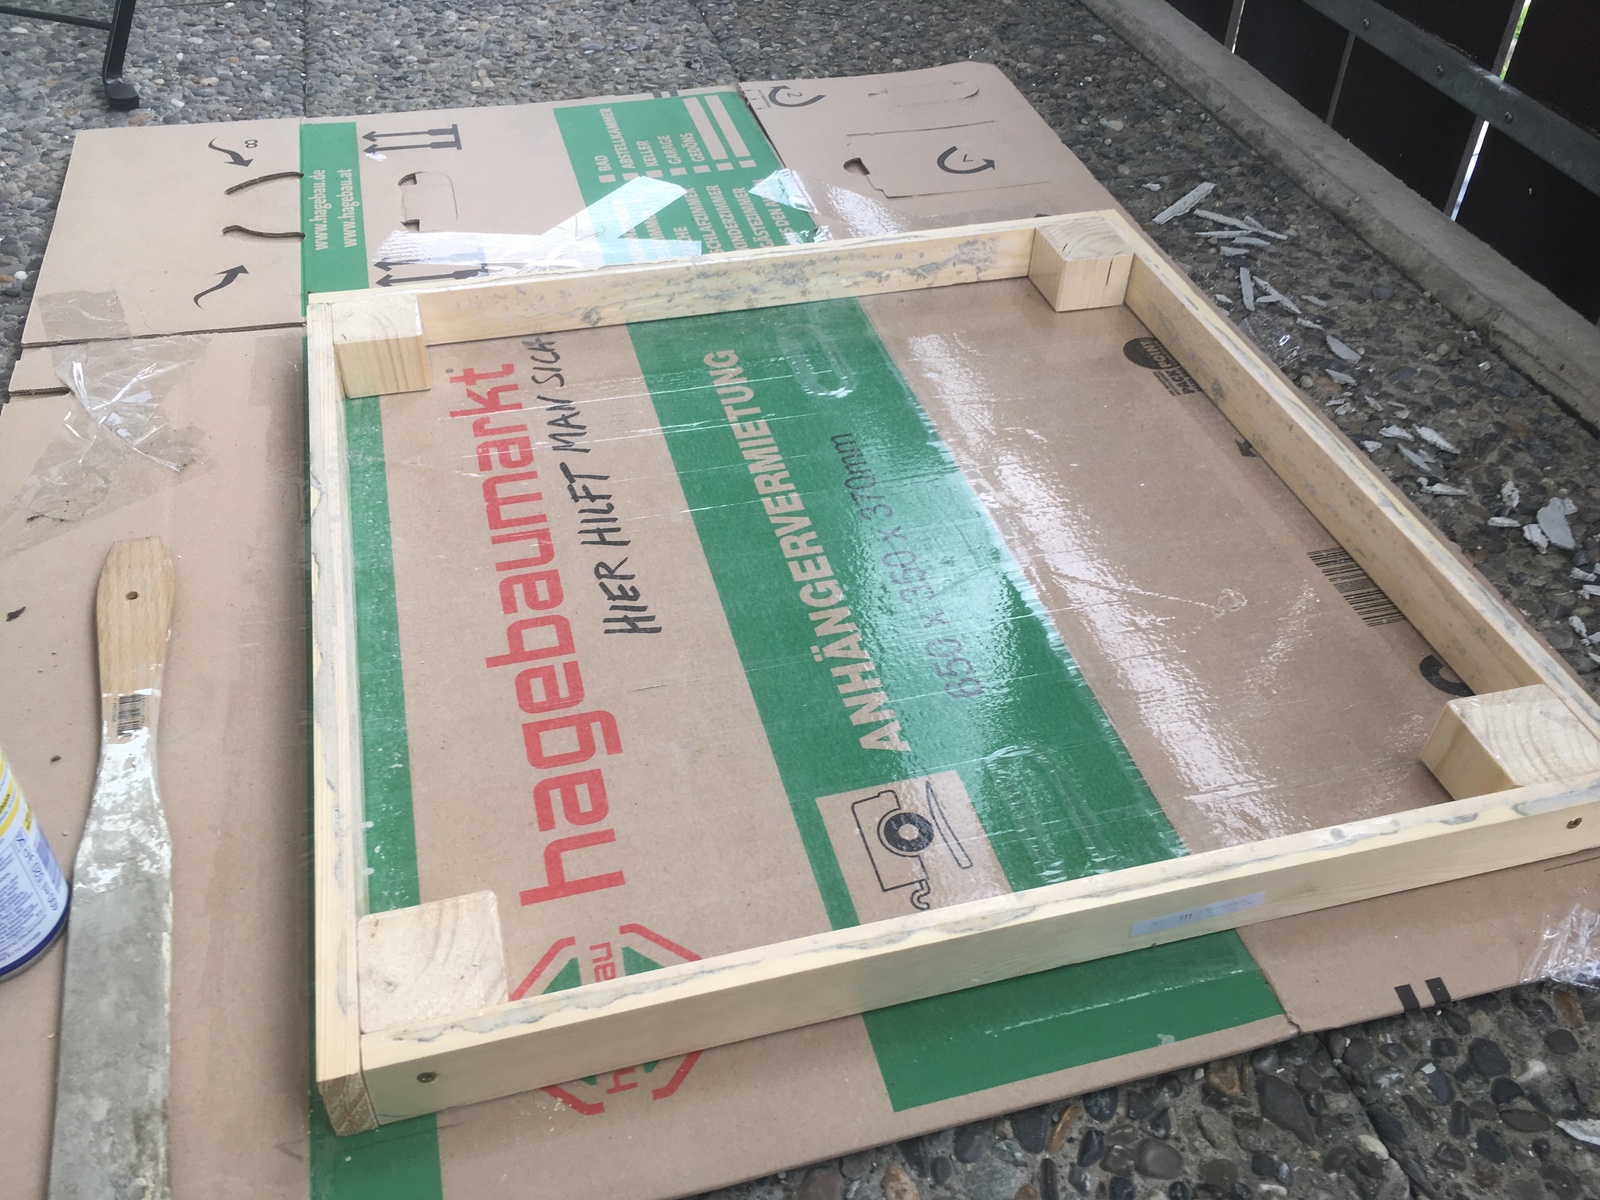
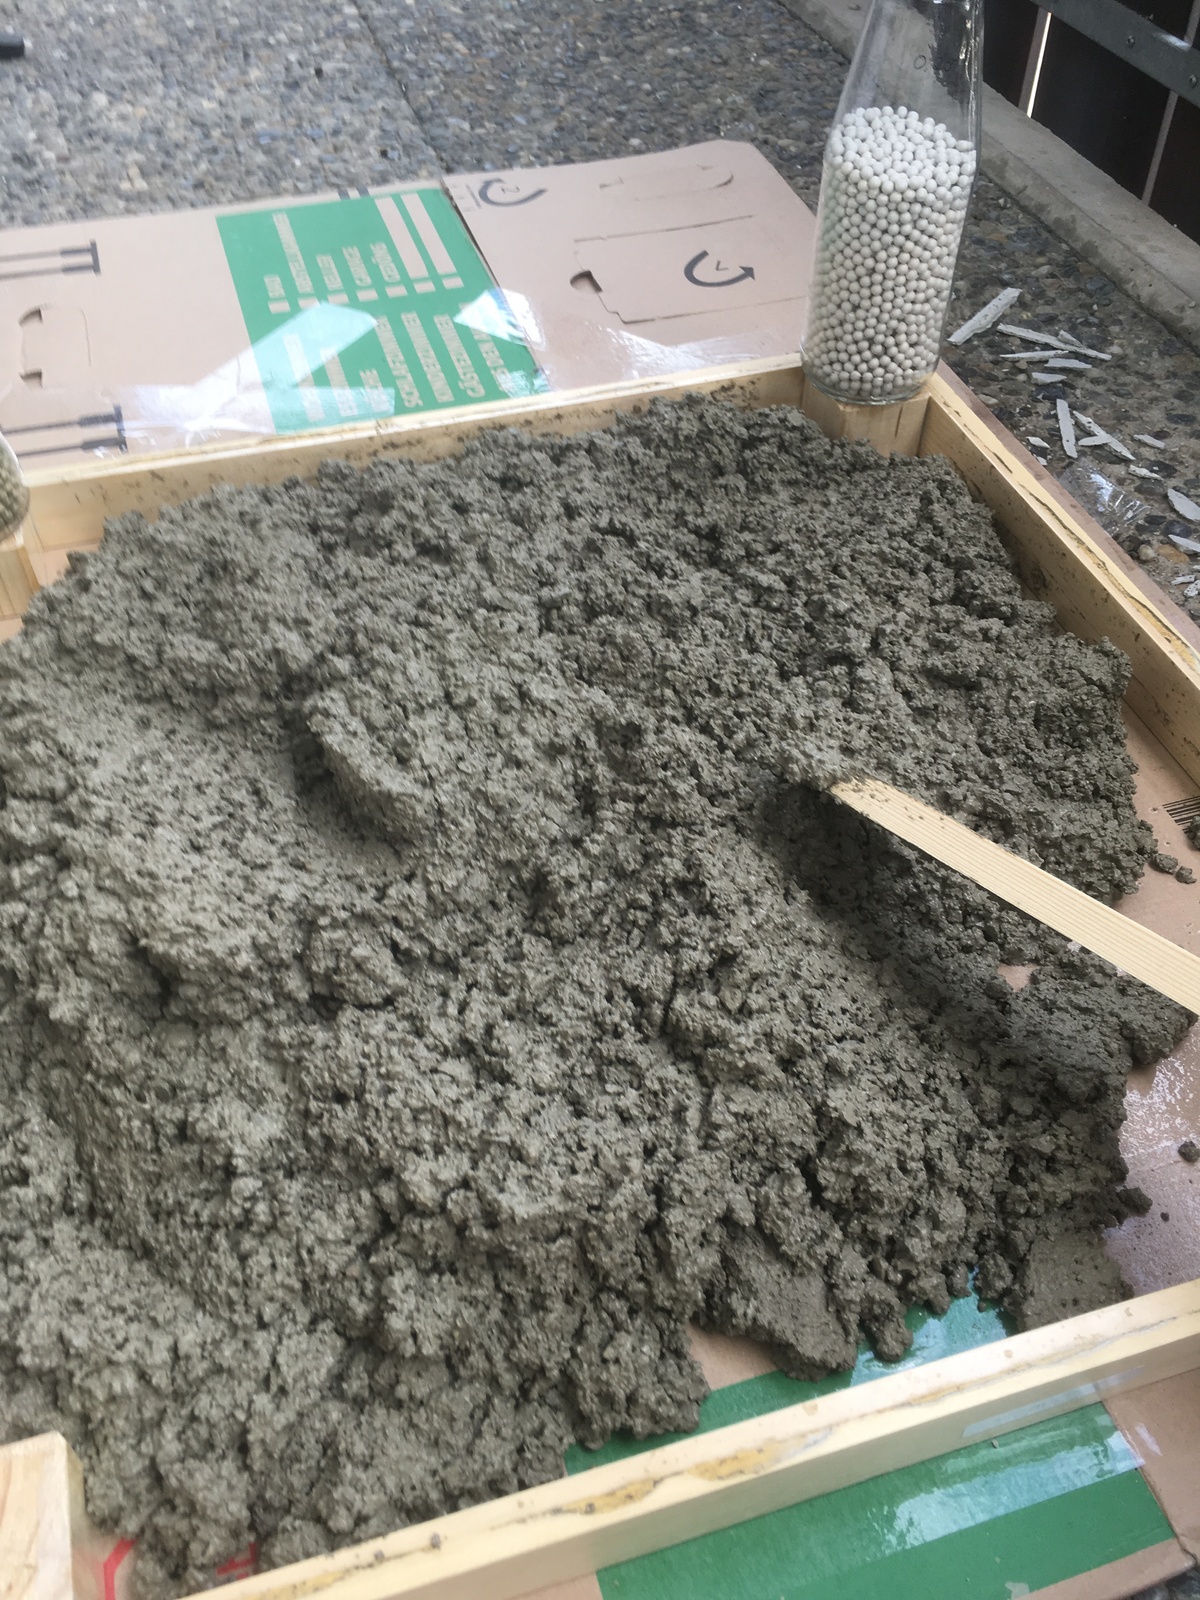
First, build a simple wooden frame to contain the wet concrete. I've used cheap 40x15x1000mm wood pieces and cut them to 555mm, screwing them together in the corners. For the surface below the frame, I've used an old cardboard box. I've "sealed" the surfaces of the cardboard and the wood pieces with clear flex-o-tape, to avoid the water wicking out of the concrete too fast, and to be able to remove the pieces easily later-on.
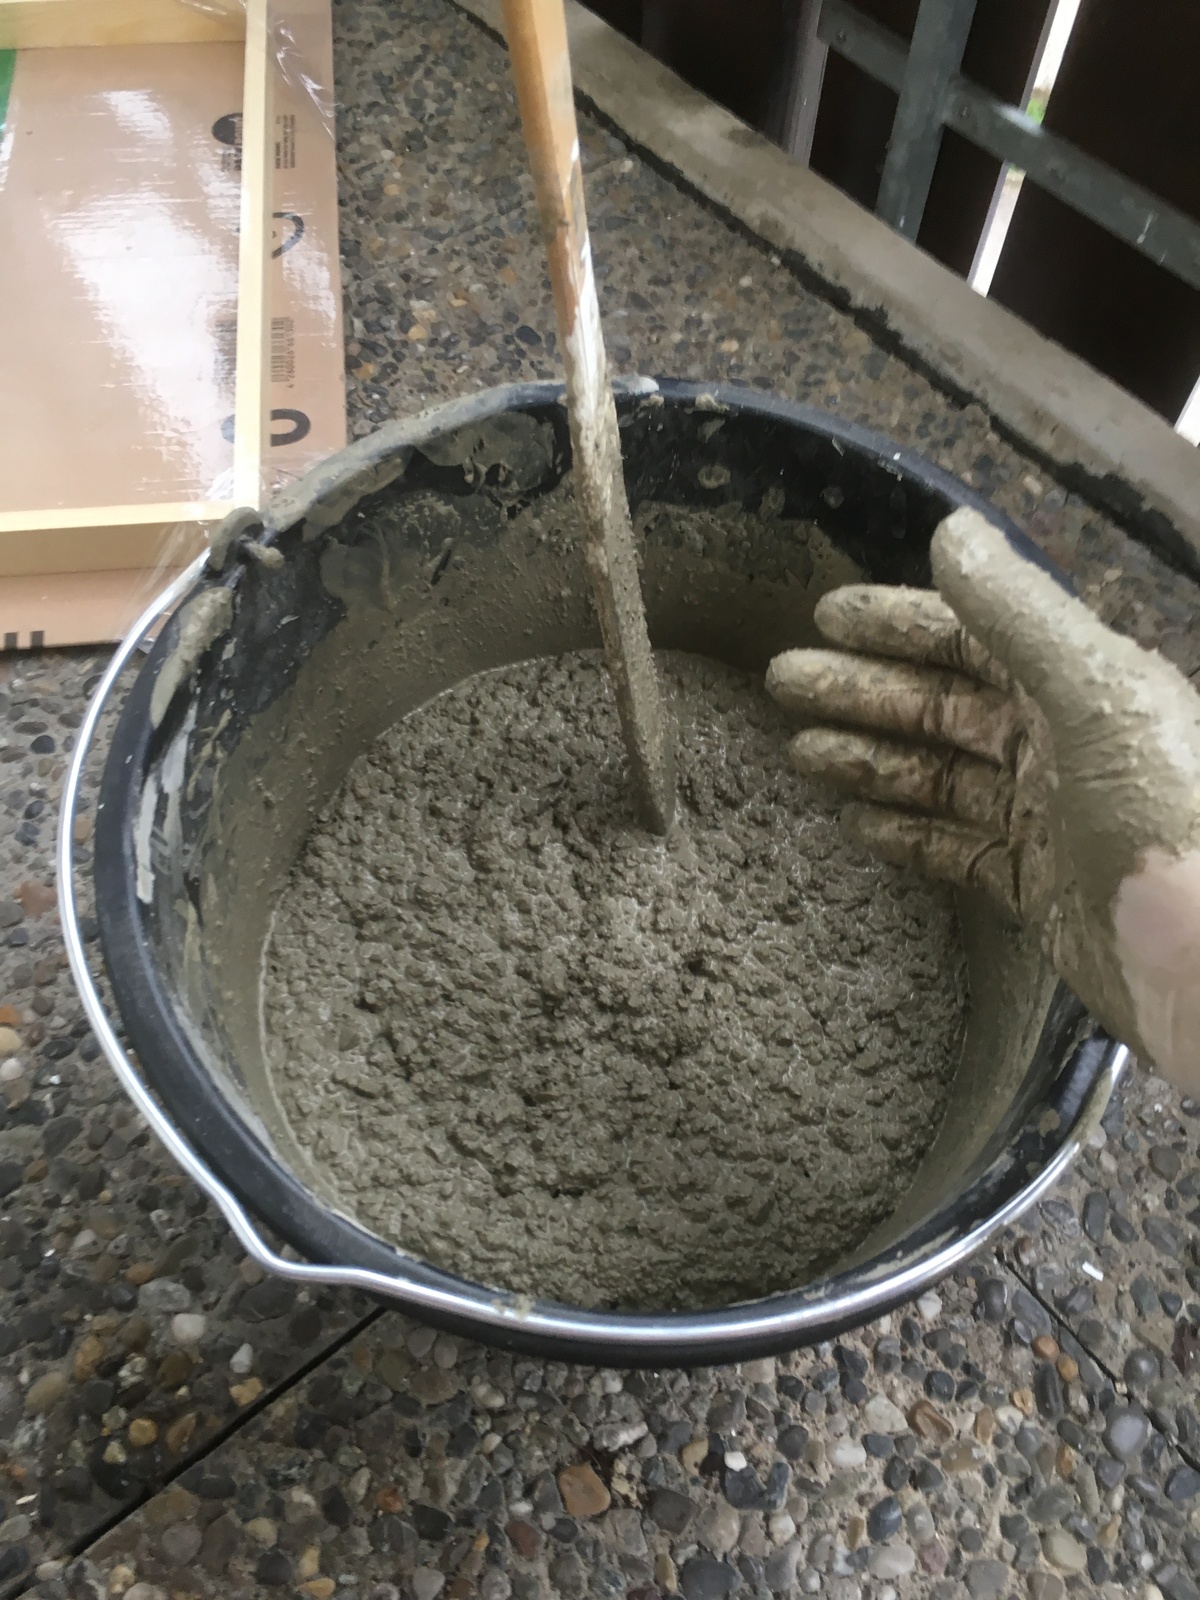
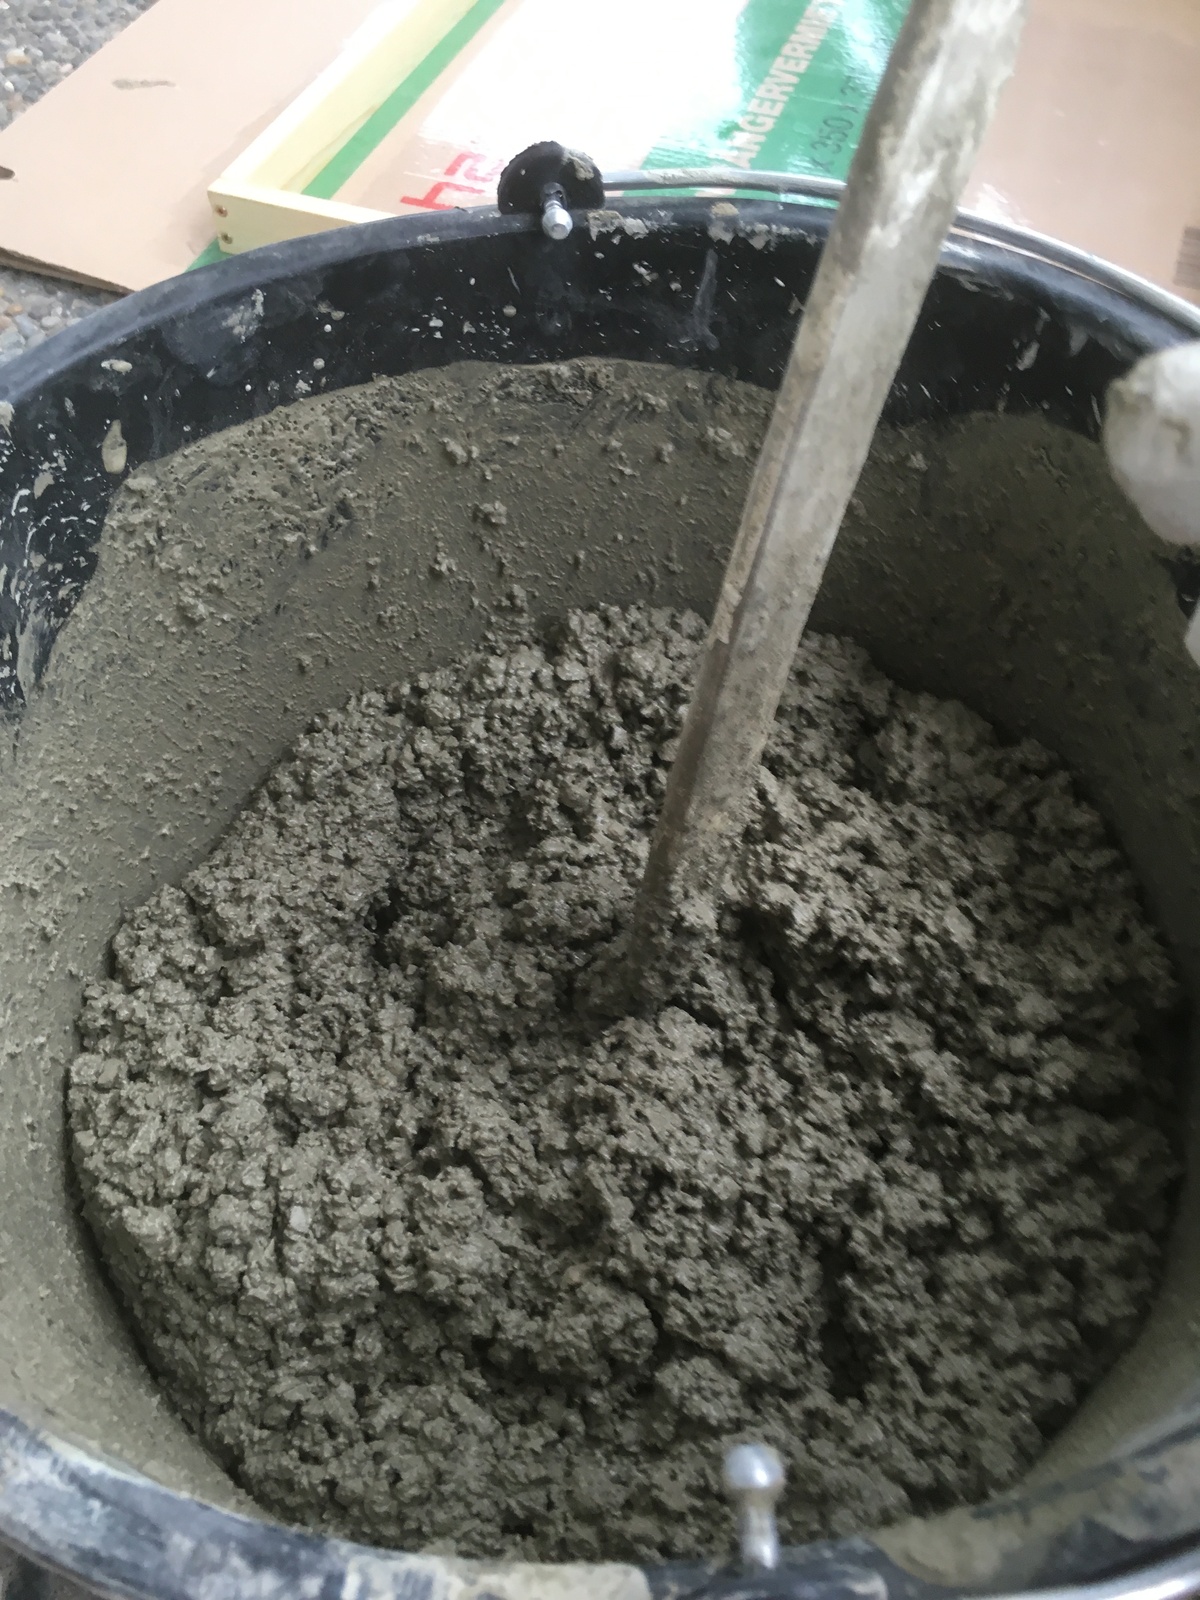
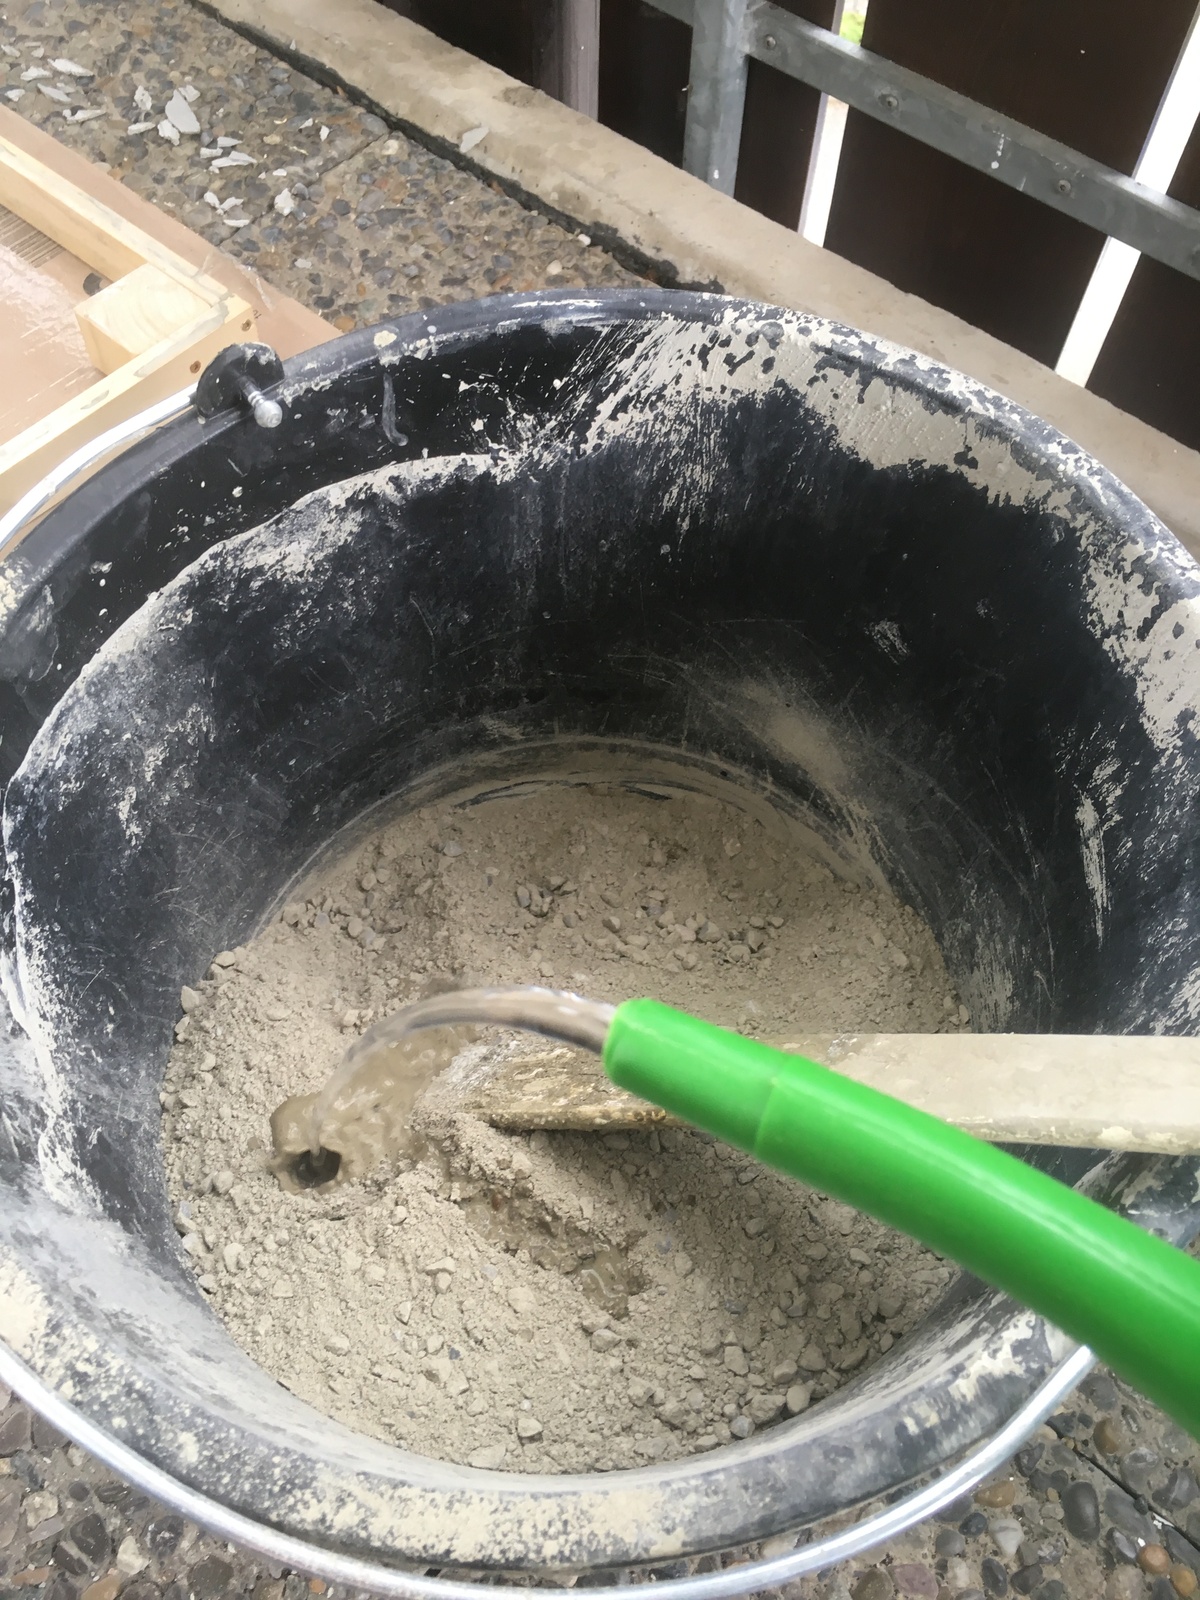
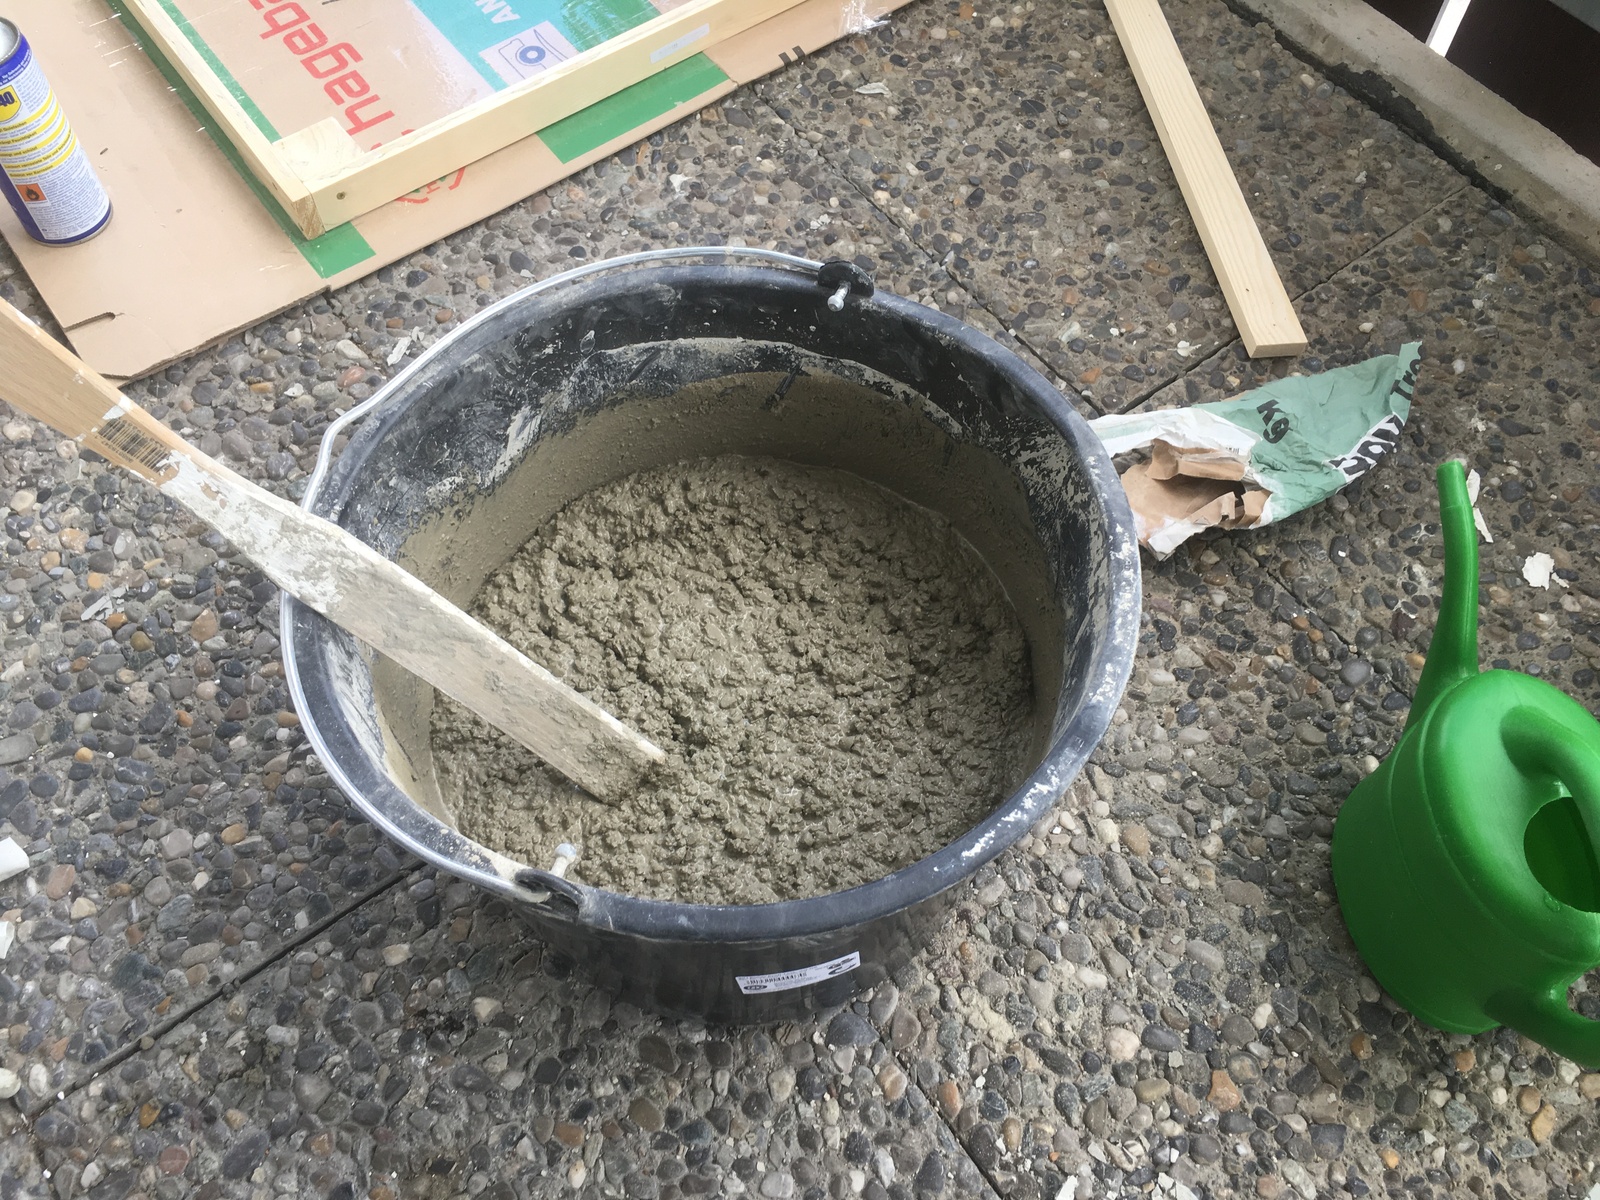
Then I've simply hand-mixed about one half of a 35kg bag of cement/sand mixture with 2l of clear tap-water. The resulting sludge can then be filled into the frame. Apply some vibrations to the edges of the frame using a hammer, and using your hand on top of the concrete, to get most of the bubbles out of the mixture and get it to settle properly. You should then use a piece of wood to really get the surface flat.
Also, be careful: avoid contact of the concrete with your skin, it burns after a while!

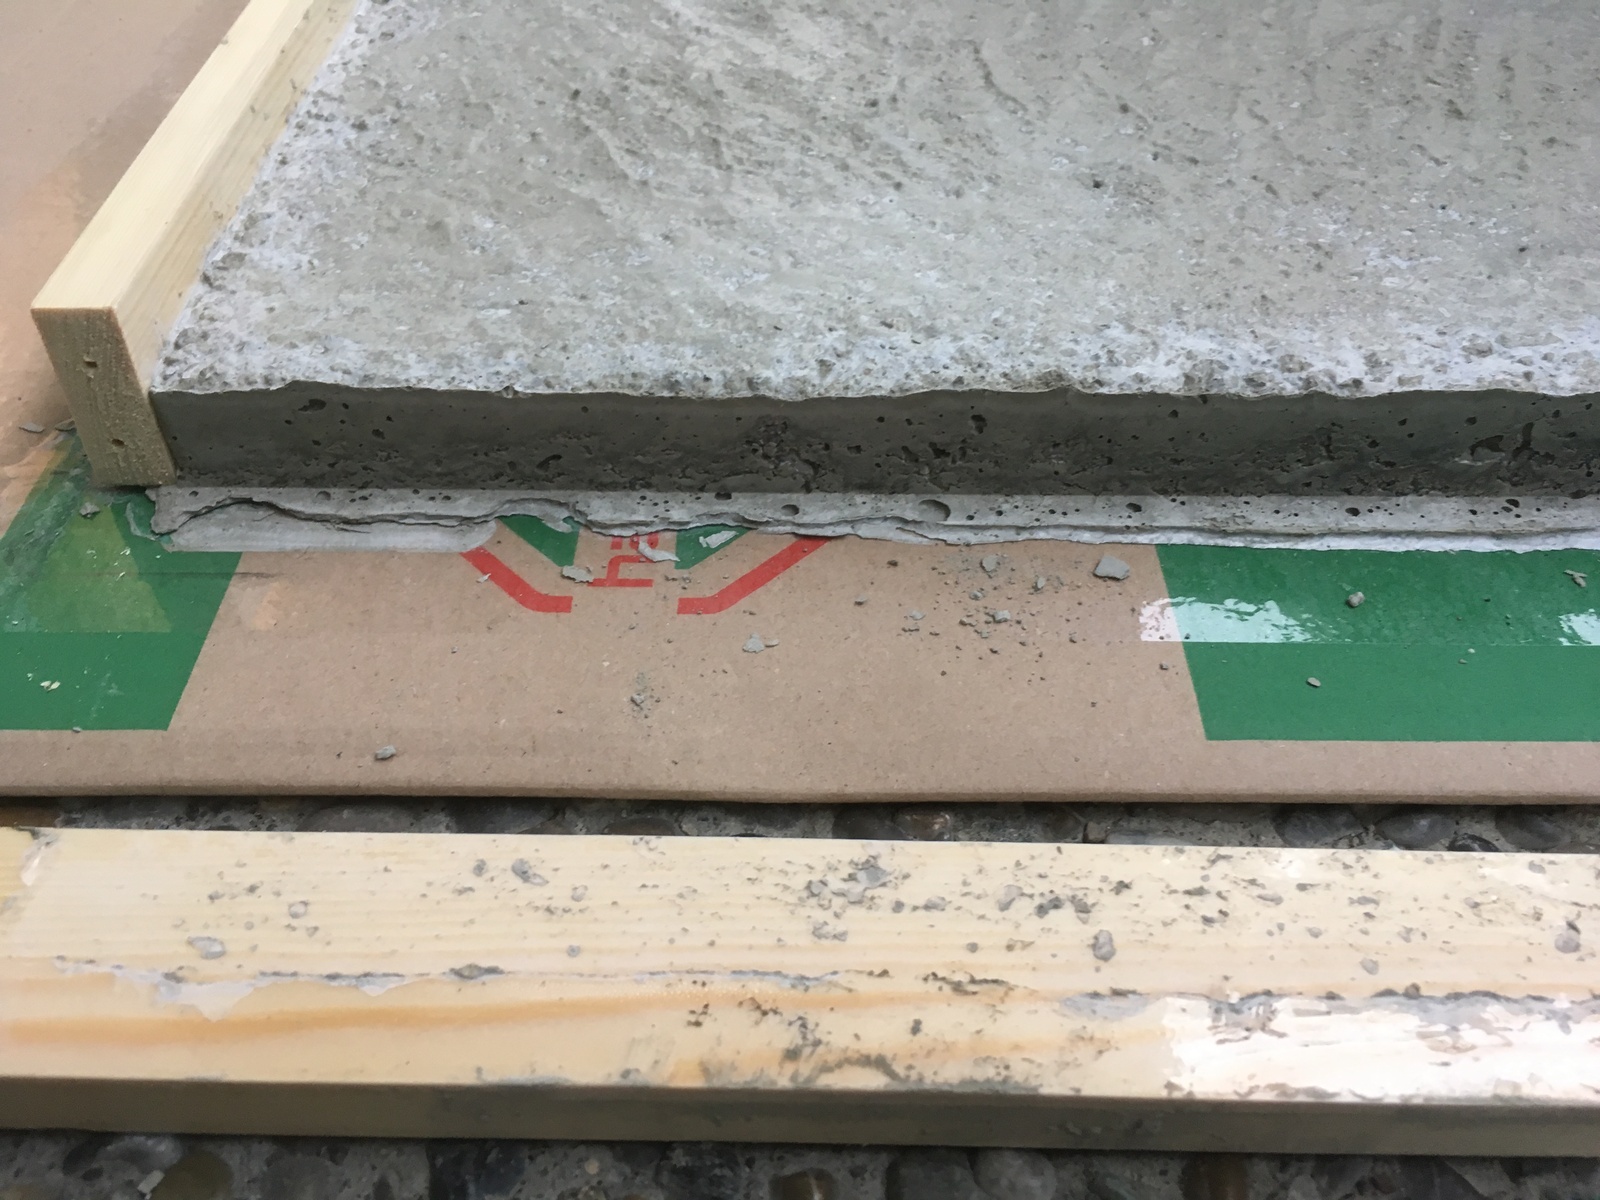
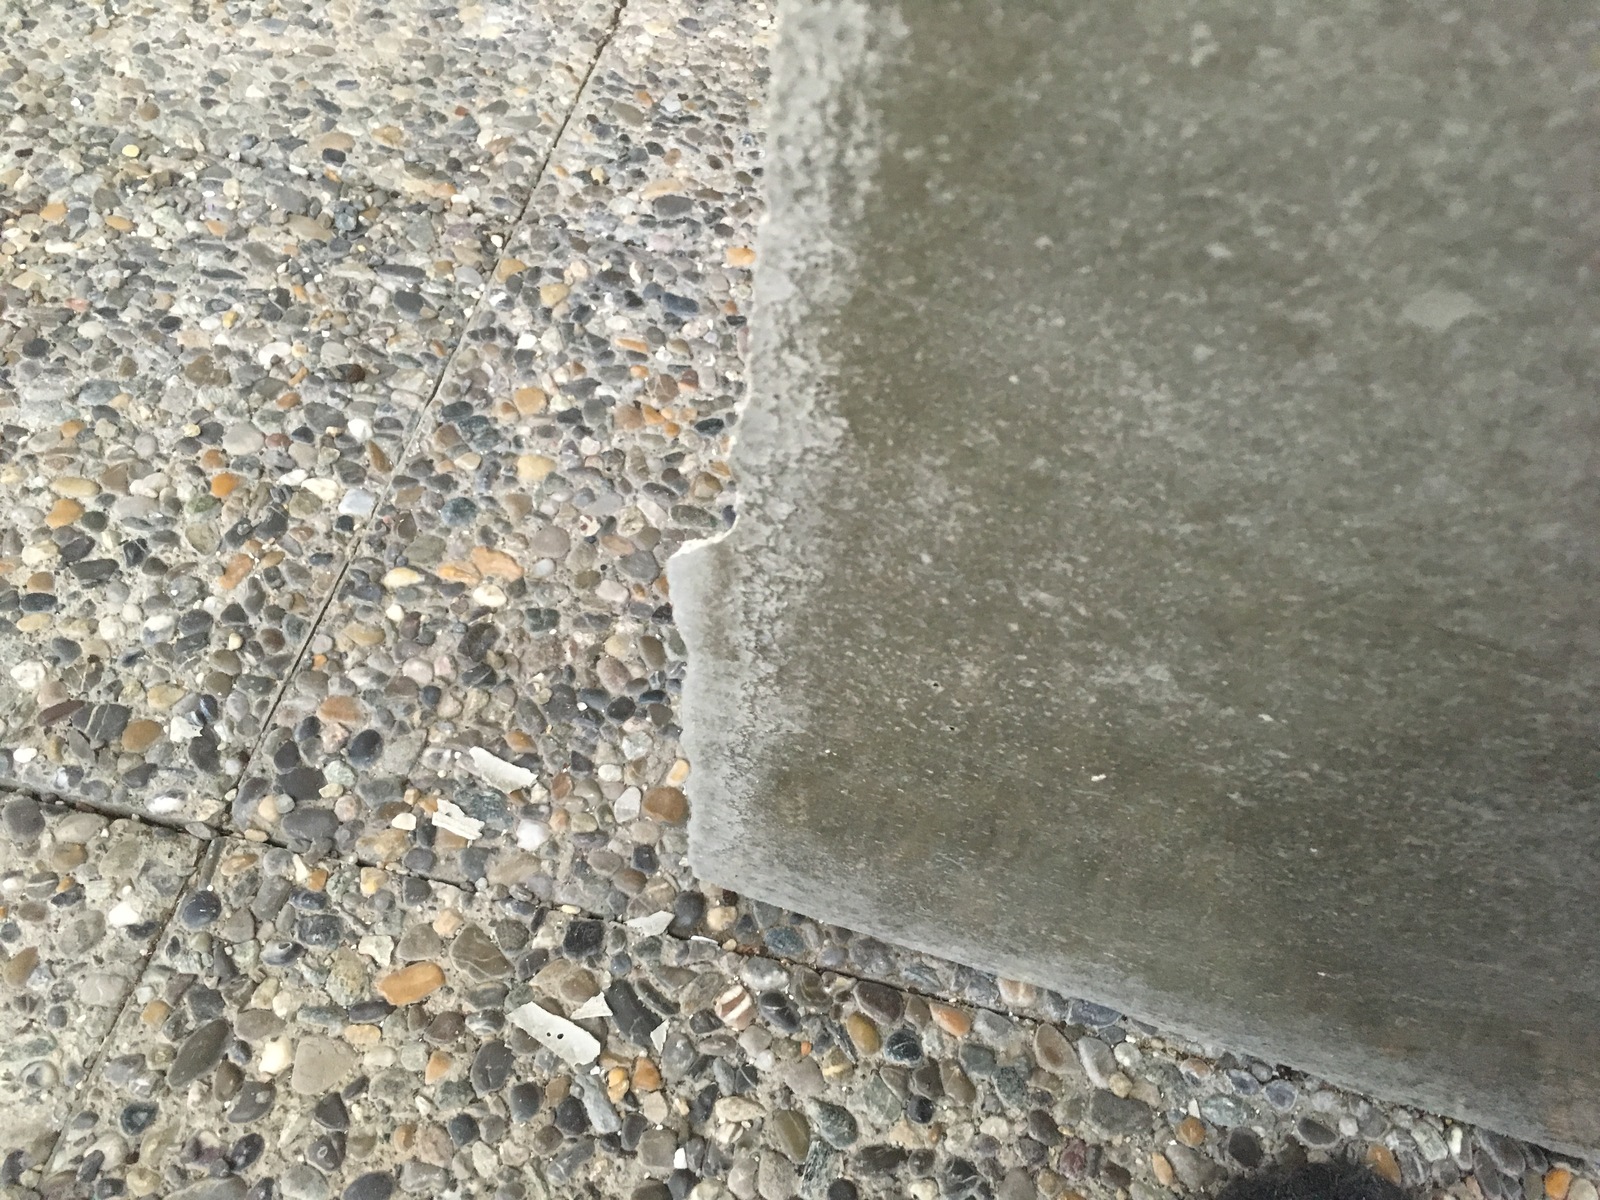
After about 24h, the frame can already be removed. Because of the large surface area and the low volume of our piece, it get's hard quite quickly. And also, we're not using it for large static loads, so we don't have to wait the full 28-days specified by the manufacturer. The small parts at the edges where the concrete slightly got under the frame can just be broken off by hand.
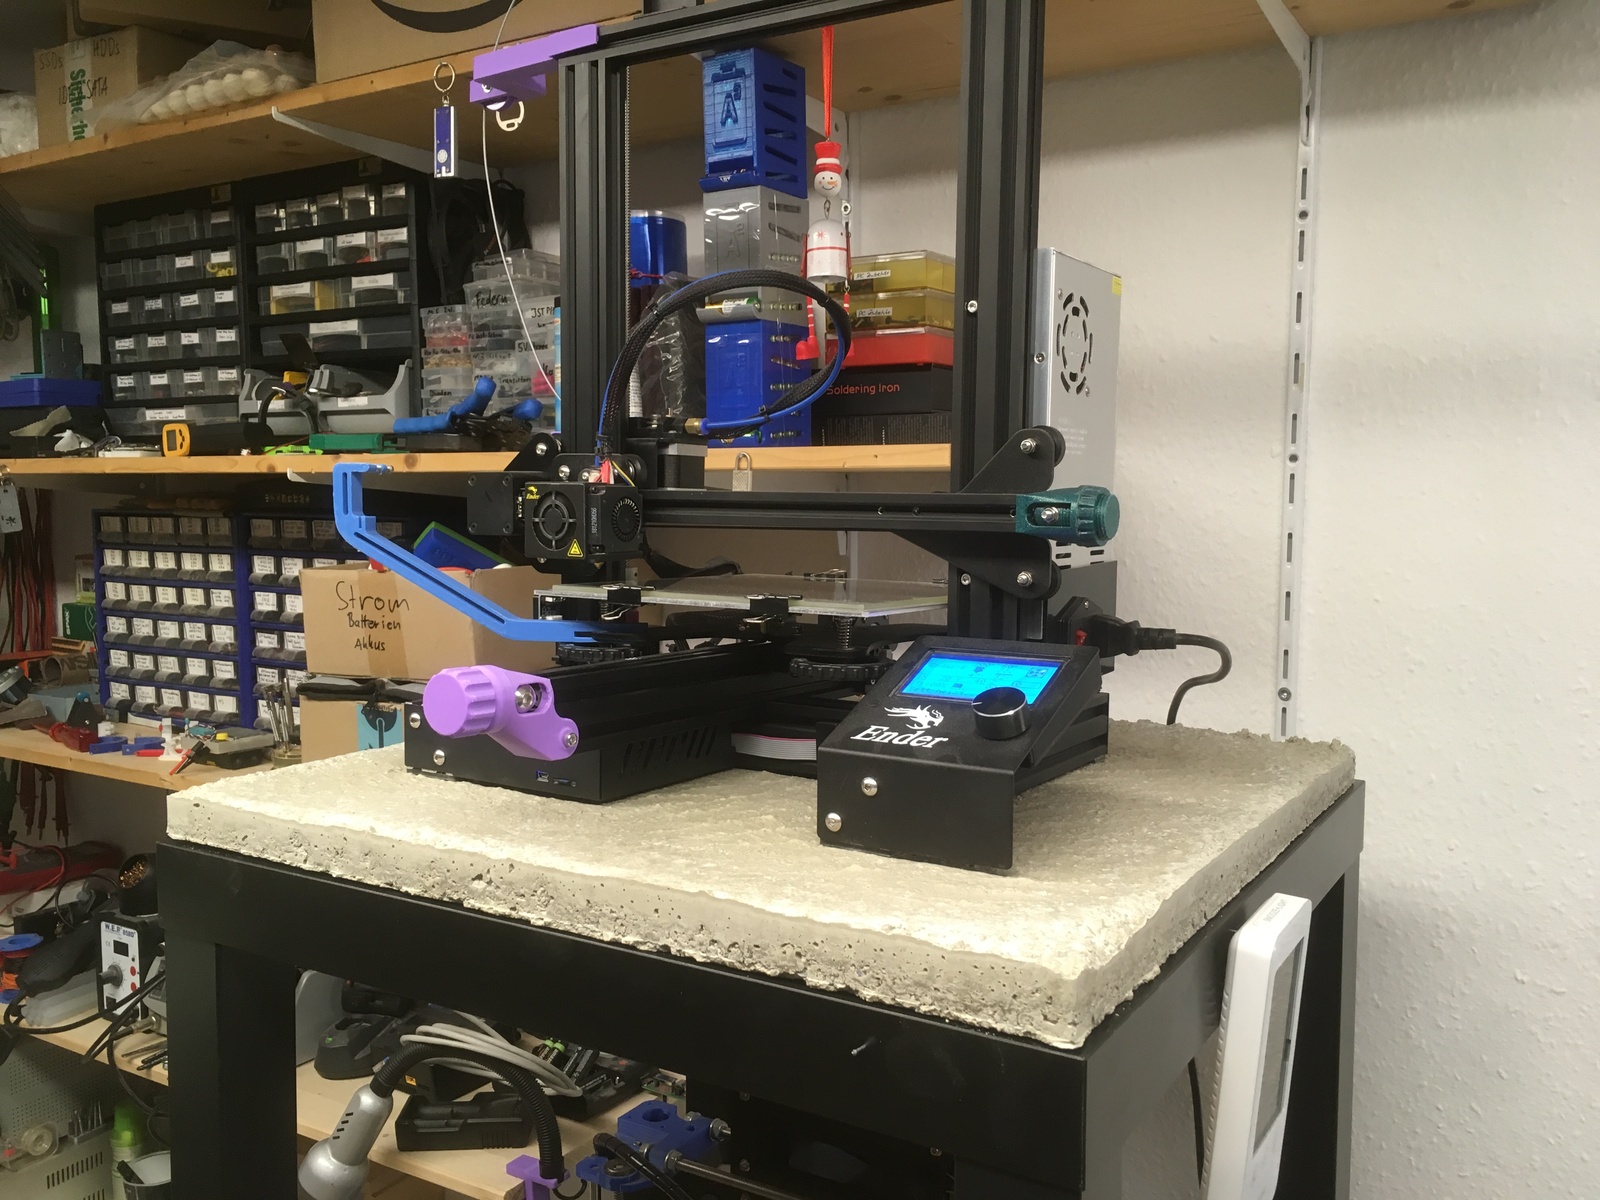
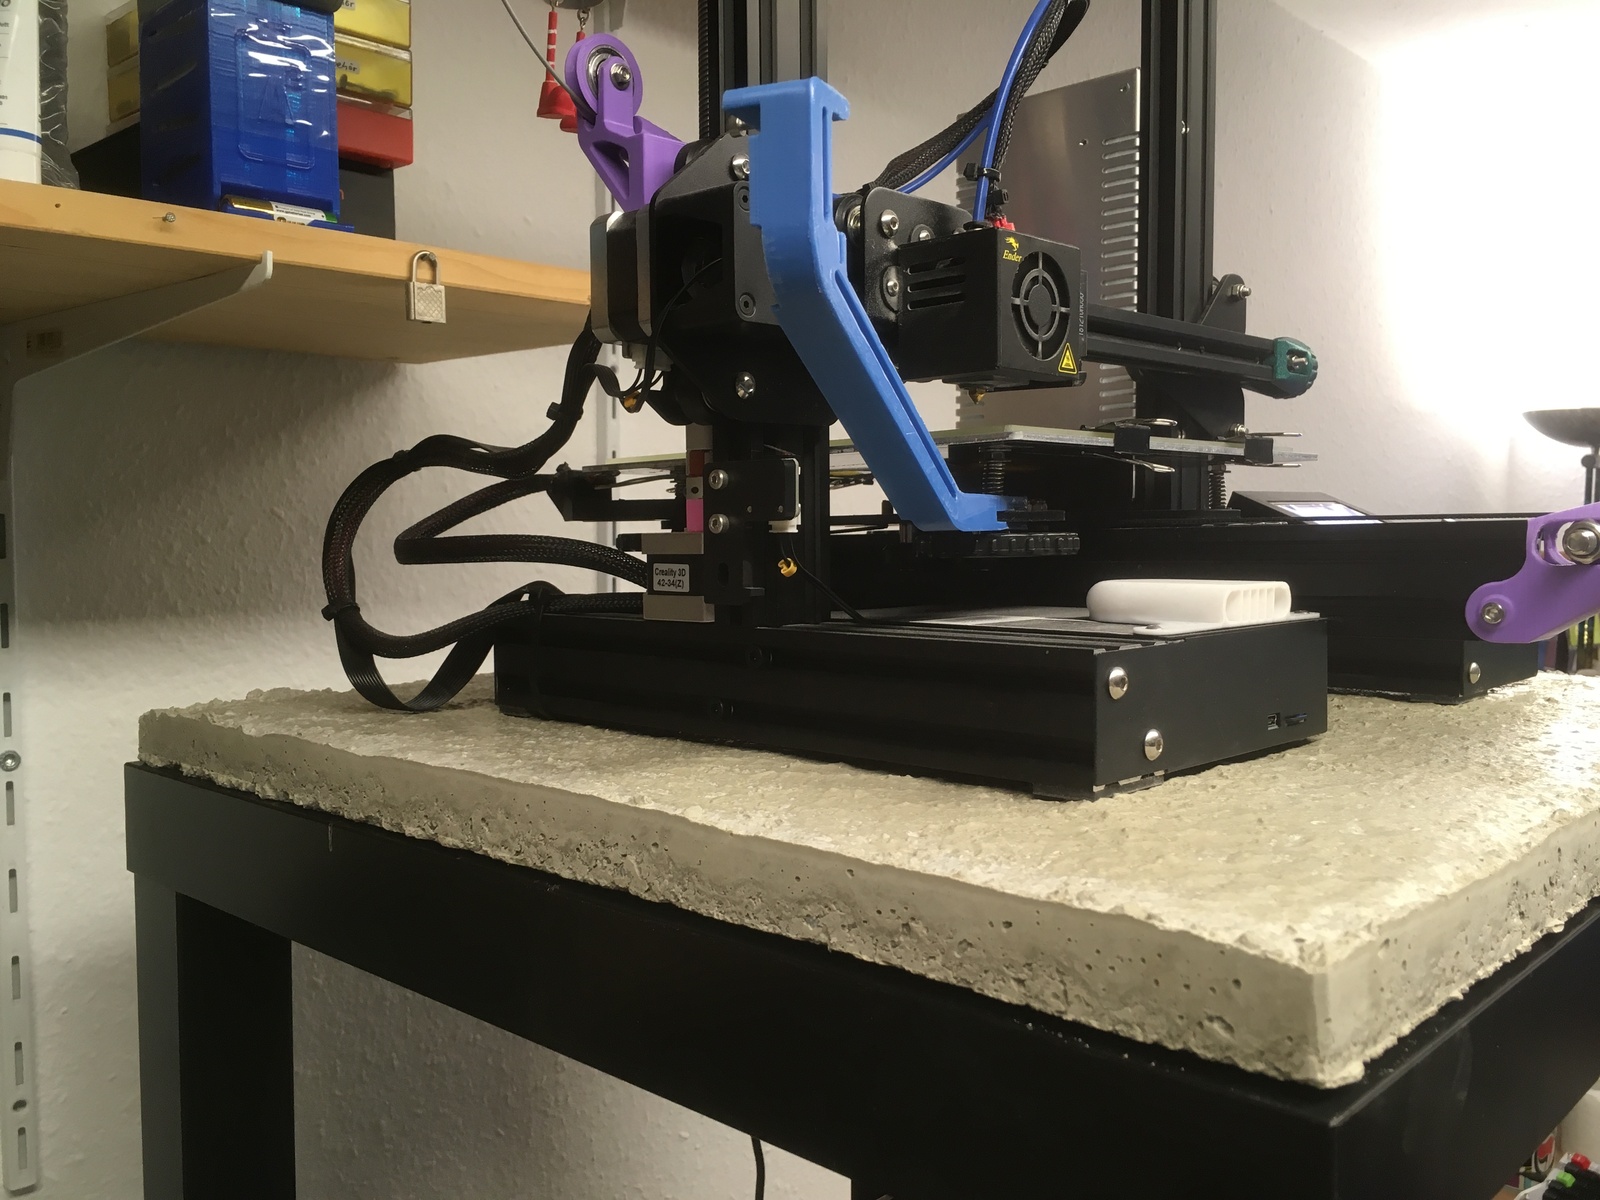
And it works perfectly, the noise of the printer is greatly reduced!
Here are some more photos of the second slab I made.

To level out my uneven concrete plates, I have now added some insulating rubber mats (intended for washing machines) between the concrete and the printer, as well as some foam pieces between the concrete and the table. I've been told it should be the other way round for mechanical isolation reasons, but this would not work for evening out the surface for the printer to stand on. So I'm leaving it like that for now.
Bottom shelf and wheels
For efficient use of the available space I also added another shelf on the bottom, with heavy-duty wheels that can take up the weight.
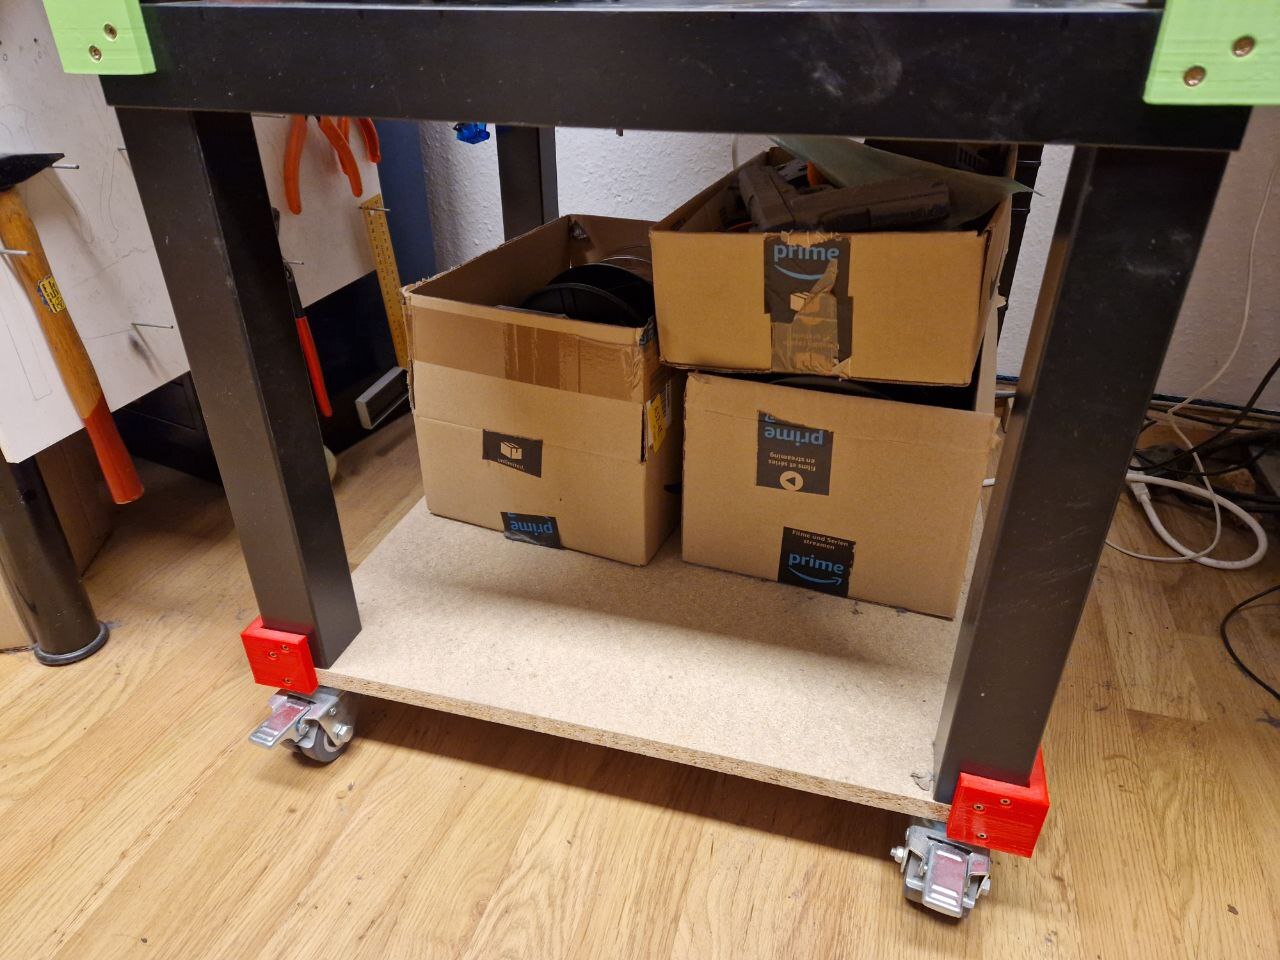
This is currently used for storage of filament rolls. I plan to build a nicer storage solution for that in the future.
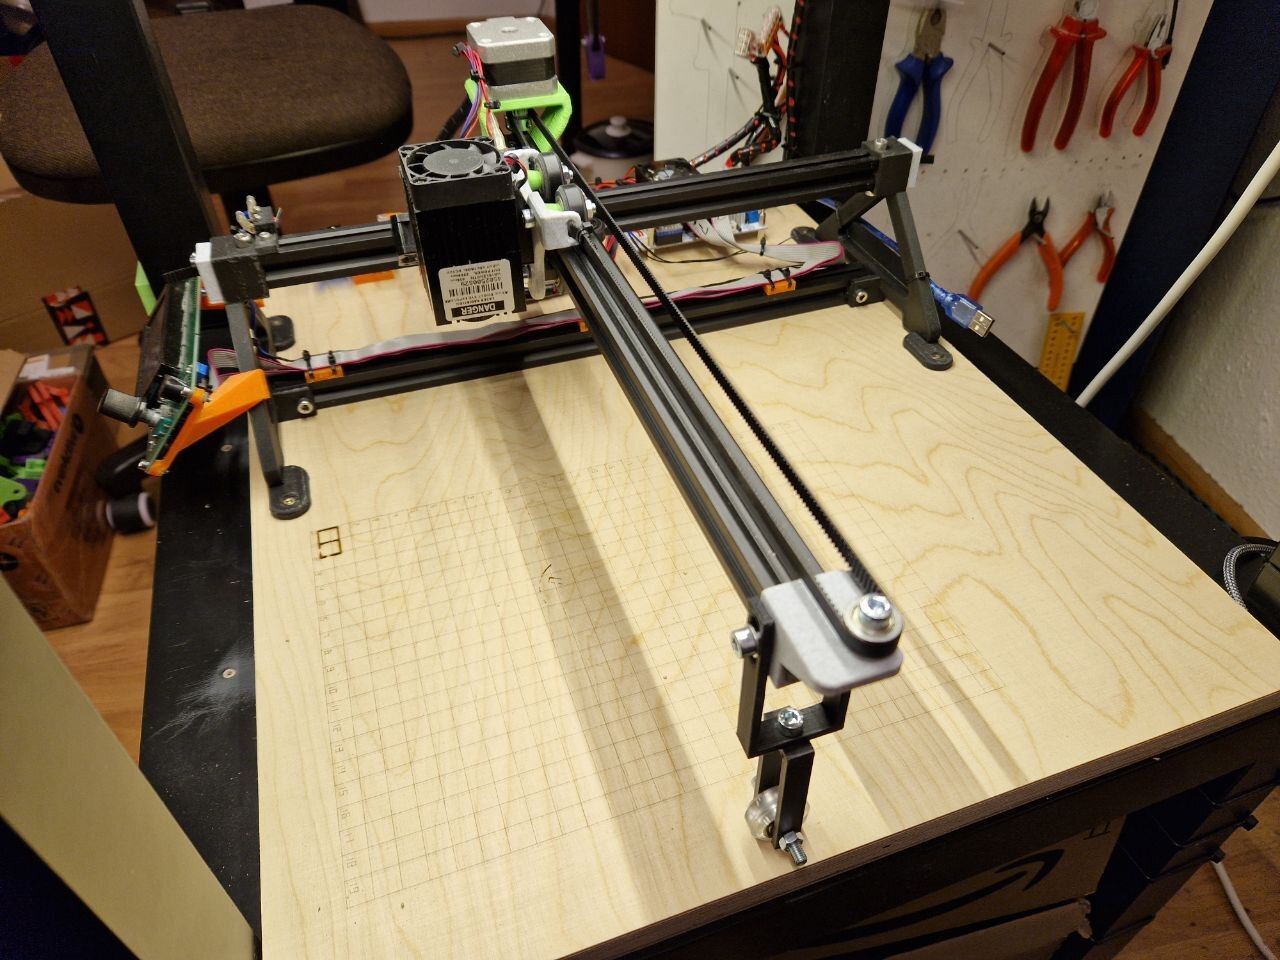
Laser Engraver (November 2022)
Recently there have been some changes that also concern the Ikea Lack tower. The CTC-i3 has been replaced by the i3-AM8, but that didn't change anything on the tower itself. But also the Fabrikator Mini has been replaced by my Laser Engraver. For this I had to do some modifications to the tower.
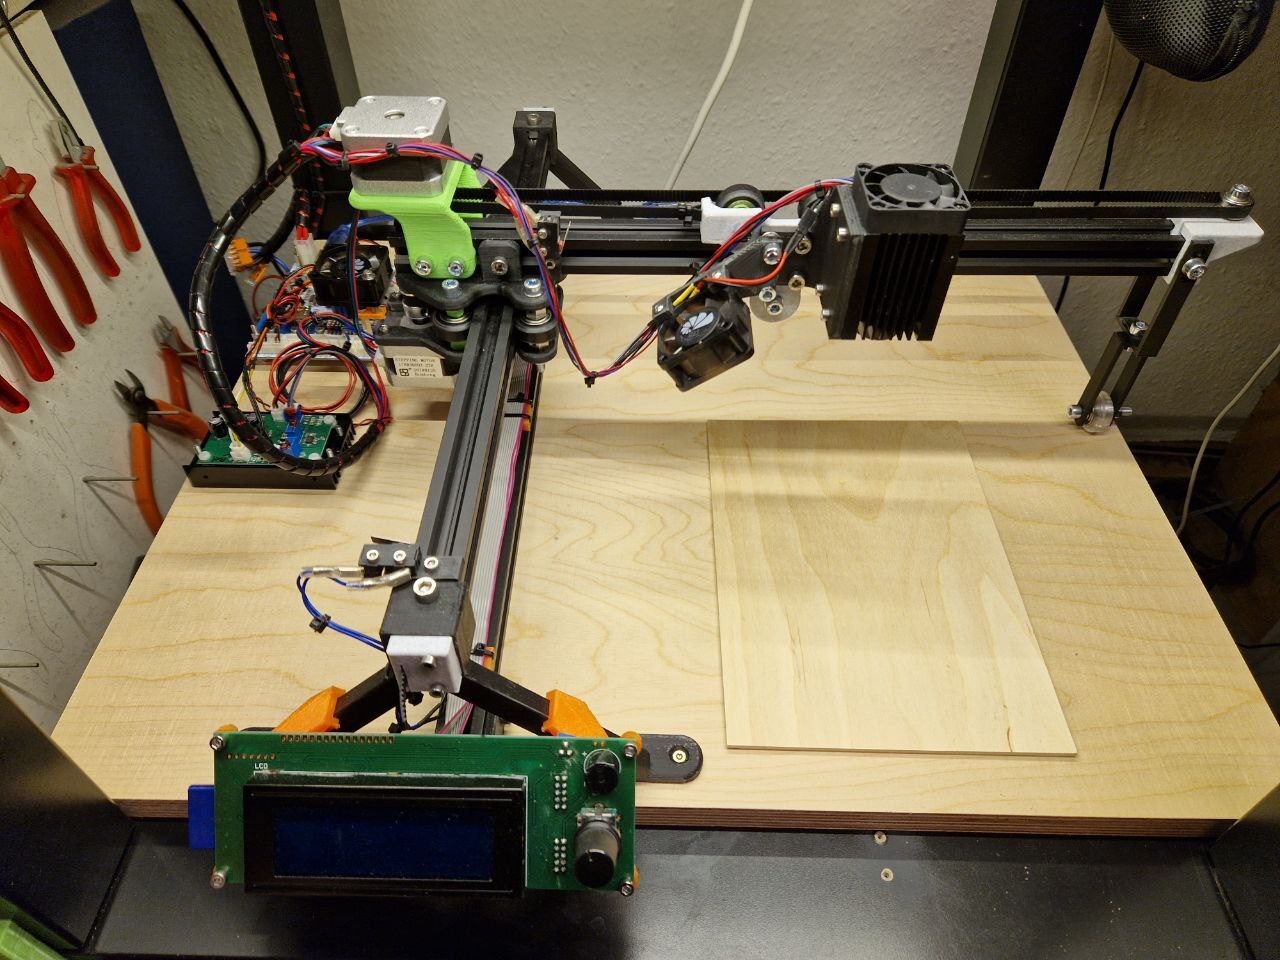
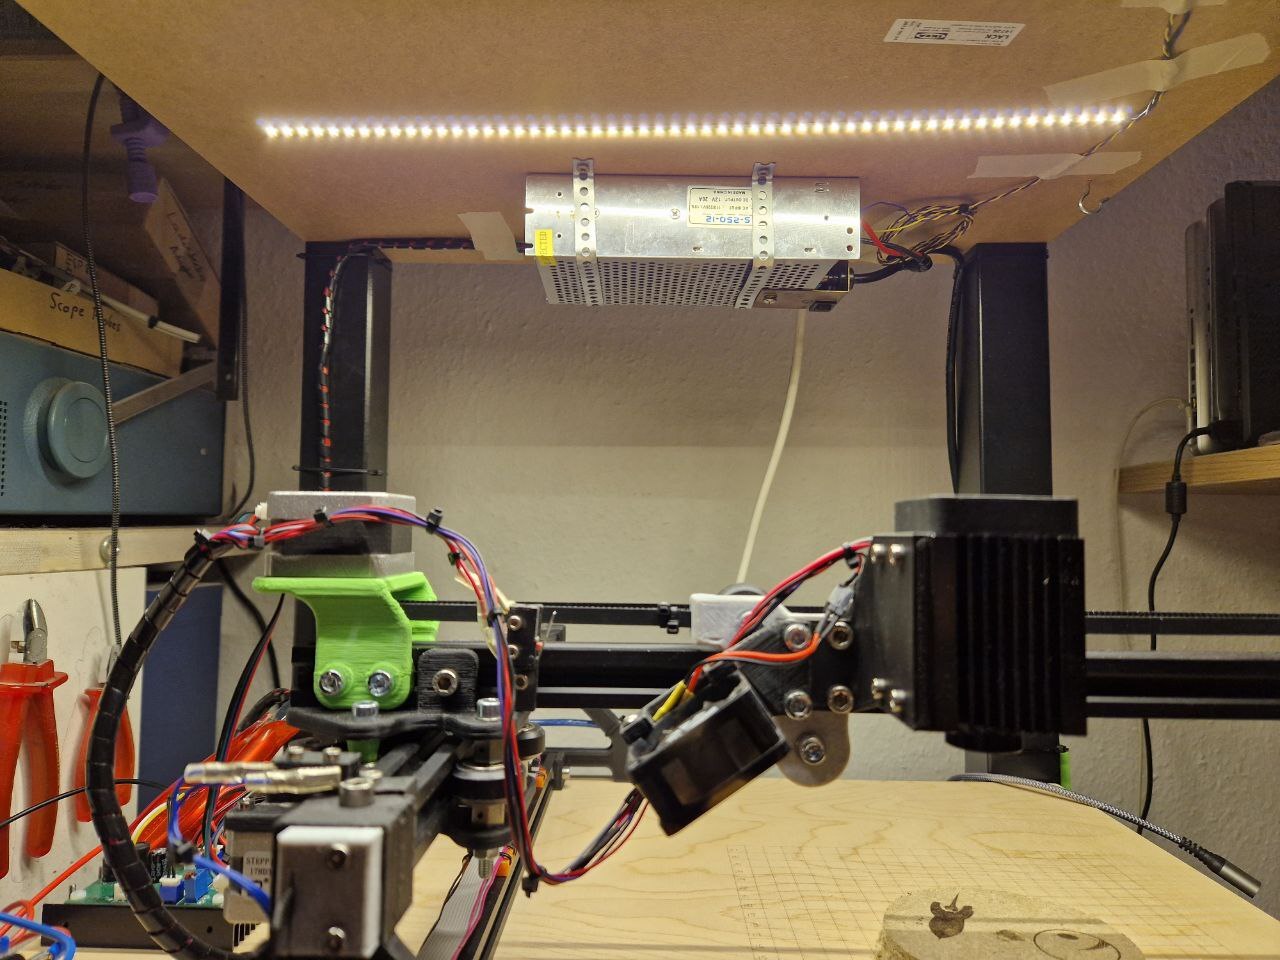
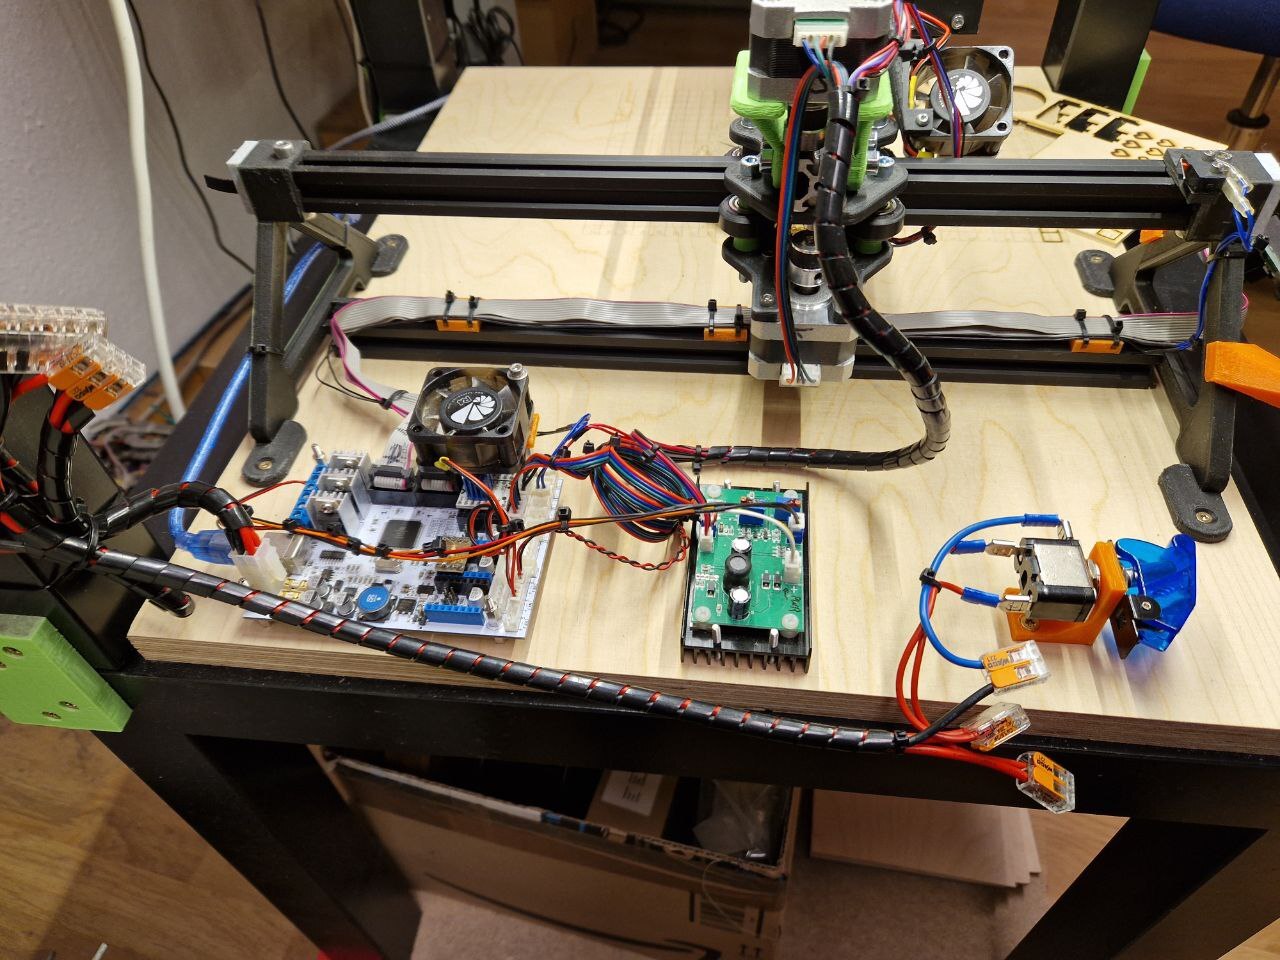
The power supply previously used for the Fabrikator Mini now powers the laser and has moved to the top of the shelf space. And of course the slide-out table is gone as well.

